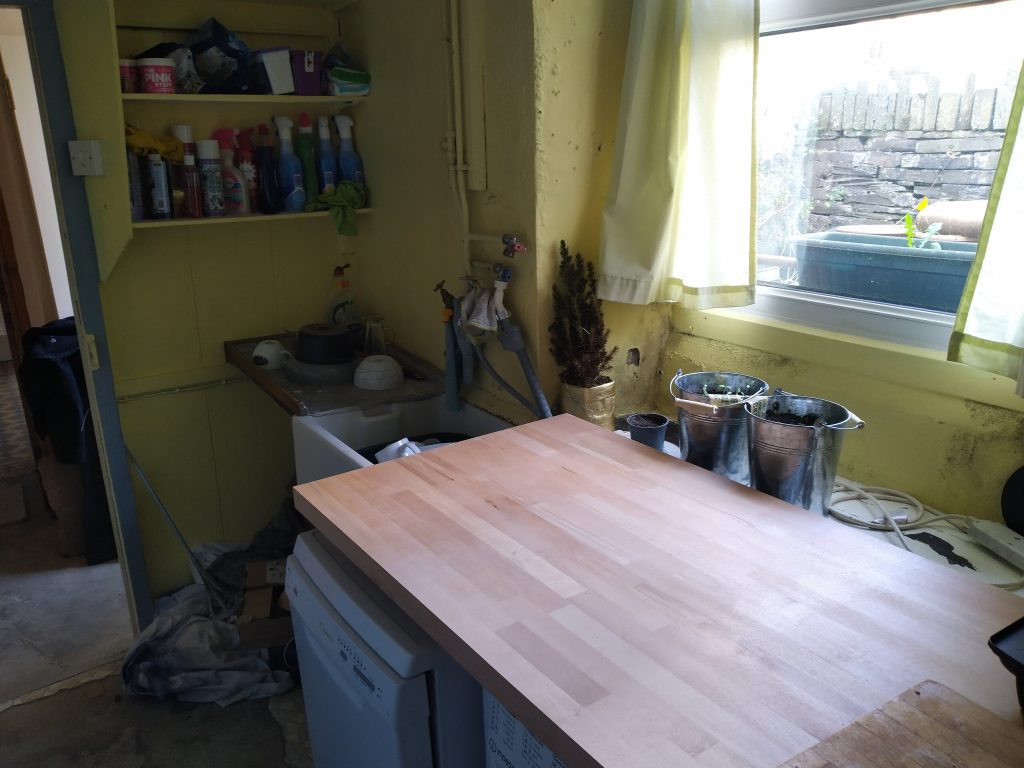
I love my utility room, it has a real “old world” feel about it. You can imaging in times gone by this being the hub of the house. Where all of the old hotel bedding was being laundered or the plates from the restaurant being washed up (well that’s what I see in my mind). It also takes me back to a very vague childproof memory of my Nans house in Bristol, probably very inaccurate but it gives me a warm glow and whether its correct of not, that’s never a bad thing is it?
I had two uses in mind for the utility room. Firstly I wanted to keep the washing up out if the kitchen and secondly it was a good place to have the laundry facilities. Fortunately, the utility room already had a nice of Belfast style sink and also on the run by the window it had enough space for a washing machine, tumble dryer and a slimline dish washer.
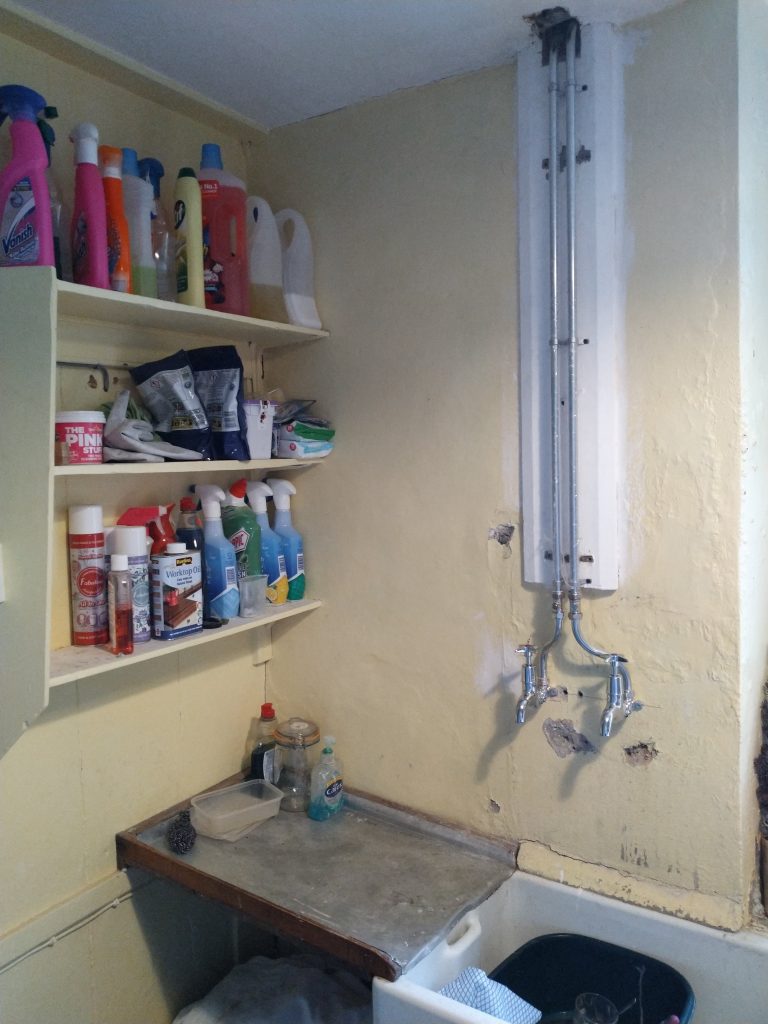
It was short of key utilities, i.e. there was not enough plug points and the wet services (drainage and cold water feed) was not set up to feed both a washing machine and dishwasher, plus things like the basic pipework and taps could all do with a good refurbishment.
The flooring was an old lino and very stained and the room colour was not to my taste plus the door to the courtyard just outside of the utility room had loads of flaked paint indicating a damp problem. Basically it was like a dog with mange you find at the rescue centre. On the surface looks a sorry state of affairs but you can see the love and potential in it.
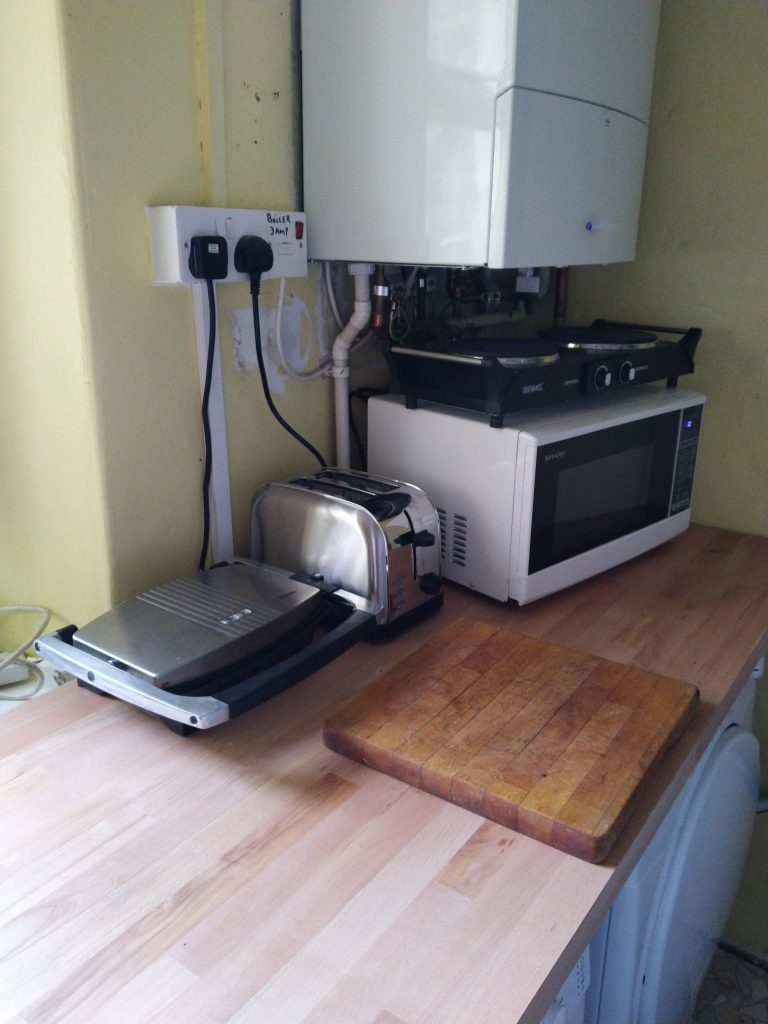
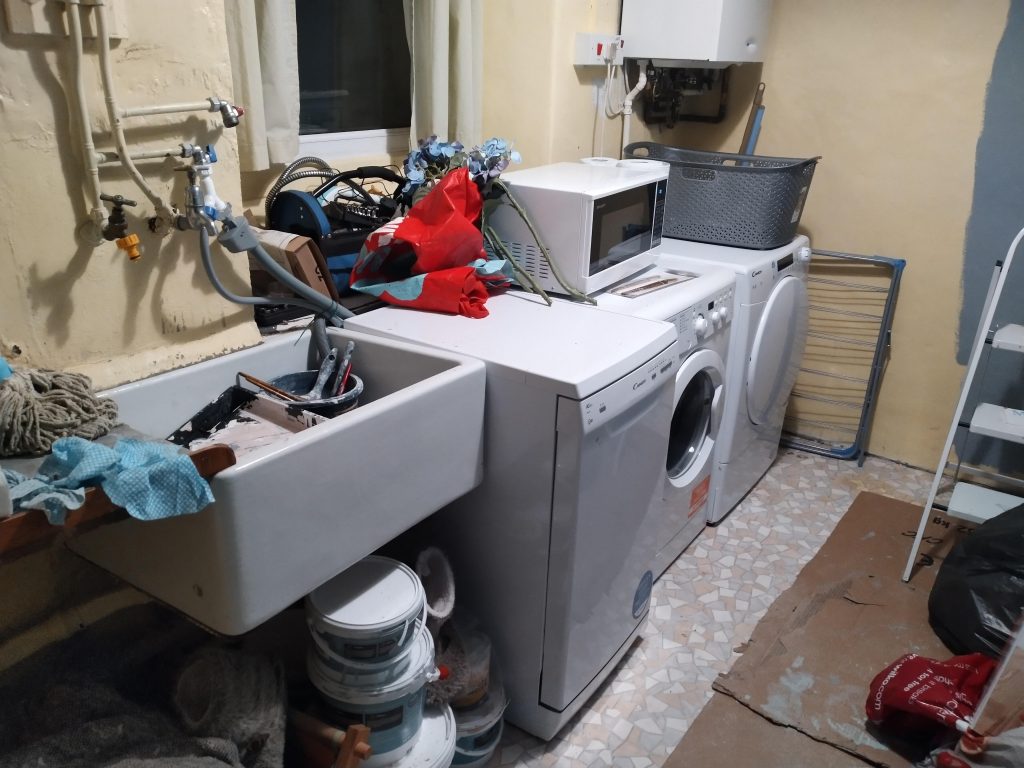
The first step was to get a basic set up working and with a washing machine and dishwasher both needing a water feed and waste plus a tumble dryer and microwave to go in a basic layout was created that allowed me to use the existing stand pipe for the washing machine and then loop the waste for the dishwasher over the sink. Whilst I had both a hot and cold feed for washing machine, I actually needed two cold feeds so I was able to find a Y adapter from Screwfix that allowed me to run two cold feeds off the existing outlet. This would be fine until I got the plumbing sorted.
You can see from the picture below the complex plumbing over the sink that will need tidying up and the original yellow walls with the new grey going on in the background, oh and loads of open paint tubs under the sink! This was definitely being used as a dumping ground at this phase.
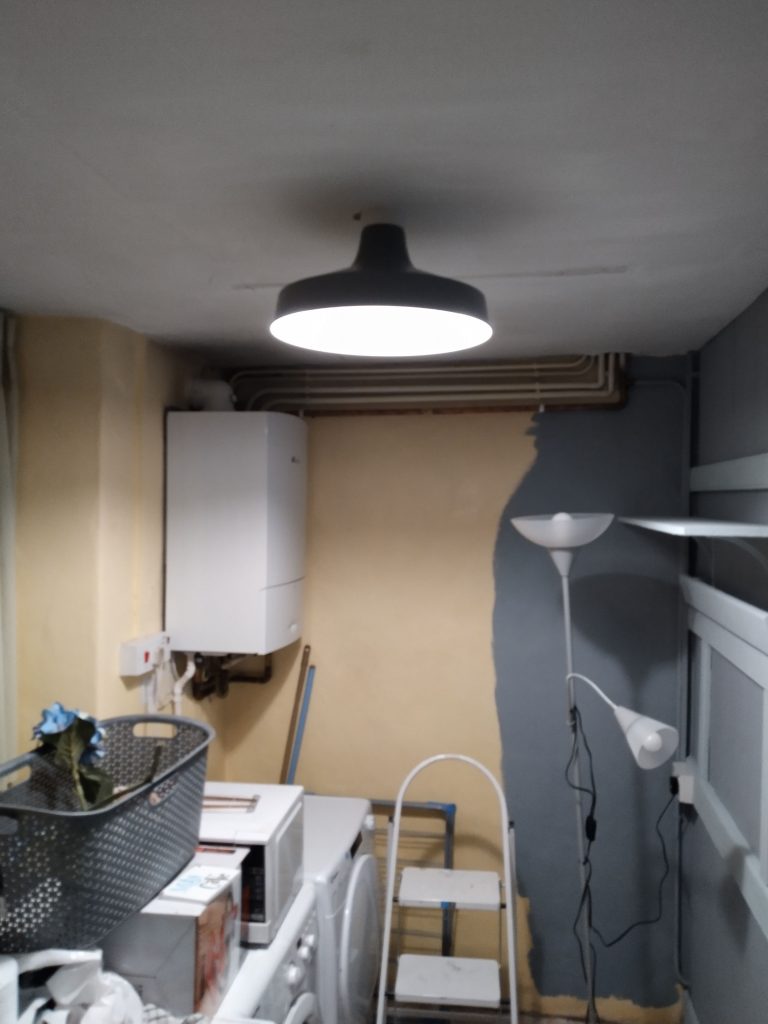
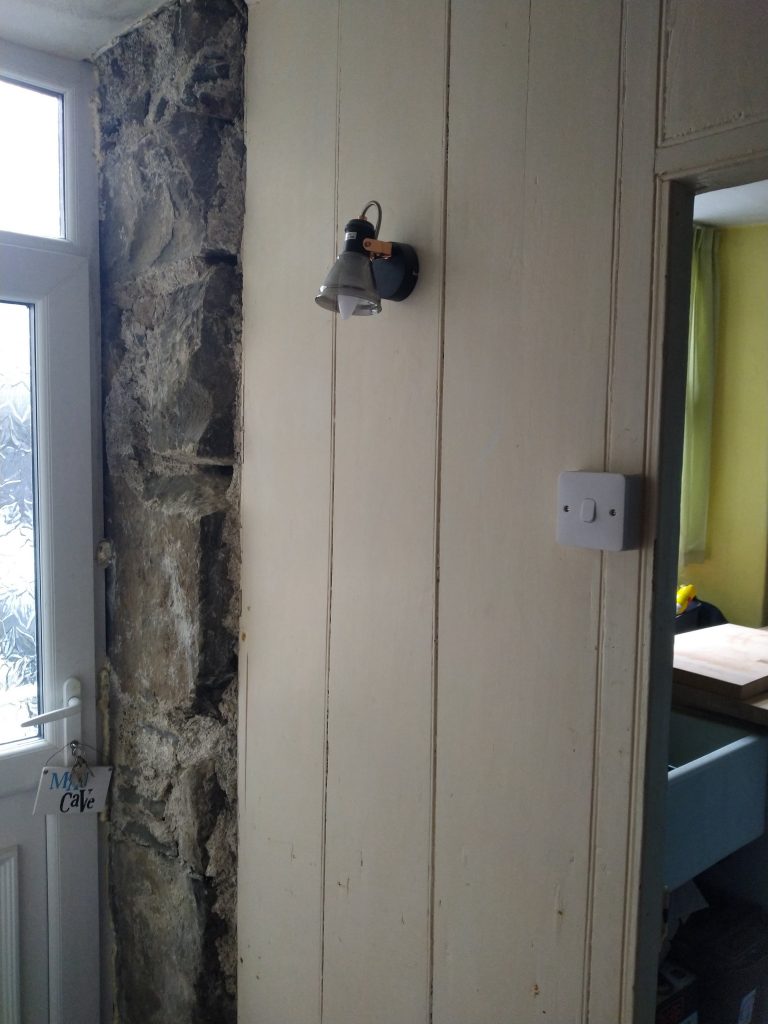
Once the basic layout was sorted, I could then turn my attention to getting all of the utilities as I required them. The first one to get sorted was the electrics as the sparks was the first one booked. Basically in this room it was just a case of adding a couple for additional double socket units to power the washing machines etc and also remove the existing fluorescent tube and change it for a ceiling rose so I could hang a bulb and light shade. Also just outside the utility room in the small hallway by the back door, I wanted an additional light and after finding a nice industrial style bulkhead light that fitted the character of the house, an additional switched feed was wired in to complete the lighting in this area.
Once the electrics had been completed, the next job was to get the plumbing sorted and this has quite a list as follows:
- Assess main route in and ensure that the main stop cocks turn freely. This ended up having a new main feed routed and a new stop cock
- Decommission all of the pipework above the sink (taps and hot and cold feeds)
- Create two new cold water feeds below work surface level for the washing machine and dishwasher
- Add an additional stand pipe to the waste below work surface level for the dishwasher
- Re run new hot and cold (stainless) water pipes to the sink and fit new BIP wall mounted taps
- Put new waste trap onto Belfast Sink
- Fit outdoor tap
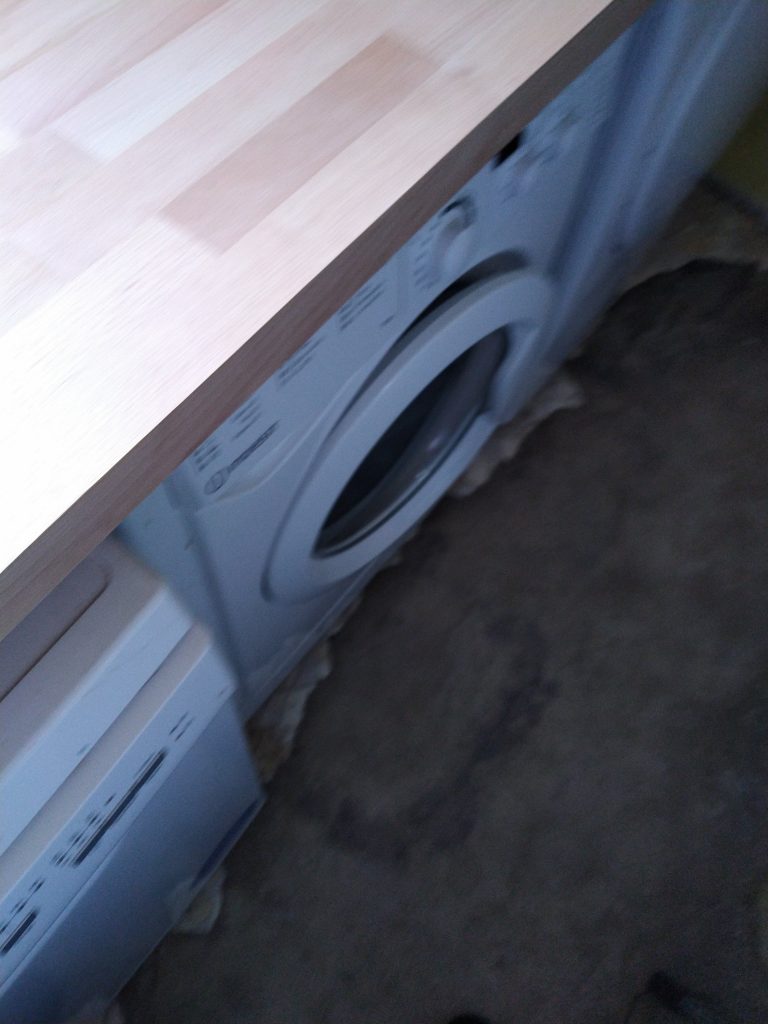
Obviously I was not going to leave the appliances freestanding and not make use of the space on top but I was unsure whether to go with solid wood worktops or patterned laminate. The actual lenght was 210 cm so off the shelf 2m was just so short. Luckily the kitchen needed a 180cm run so I was able to get a 4m solid Birch work top and cut that to size for both rooms. Due to the height of the appliances and the low window sill my method of supporting the worktop was limited so I have actually settled on a simple solution. Using offcuts from the 40mm battens used in the kitchen I have been able to cut “lifters” which basically sit on the top of the dishwasher and tumble dryer and then the worktop just sits on top of this. This allows the washing machine which is the middle appliance to have enough space to vibrate its heart away without affecting the worktop and also creates really good air flow for the tumble dryer.
So the next step was to turn my attention to the paintwork and this is where my daughter had her eye in. As she is a mad fan of Mrs Hinch (who I believe is some sort of cleaning guru?), she wanted to theme the utility room and turning it into a domestic bliss palace with a colour palate in keeping with the period restoration we are trying to achieve throughout the house. She ended up going with a mid grey on the walls and then picked up the wooden panelling with a sort of duck egg blue
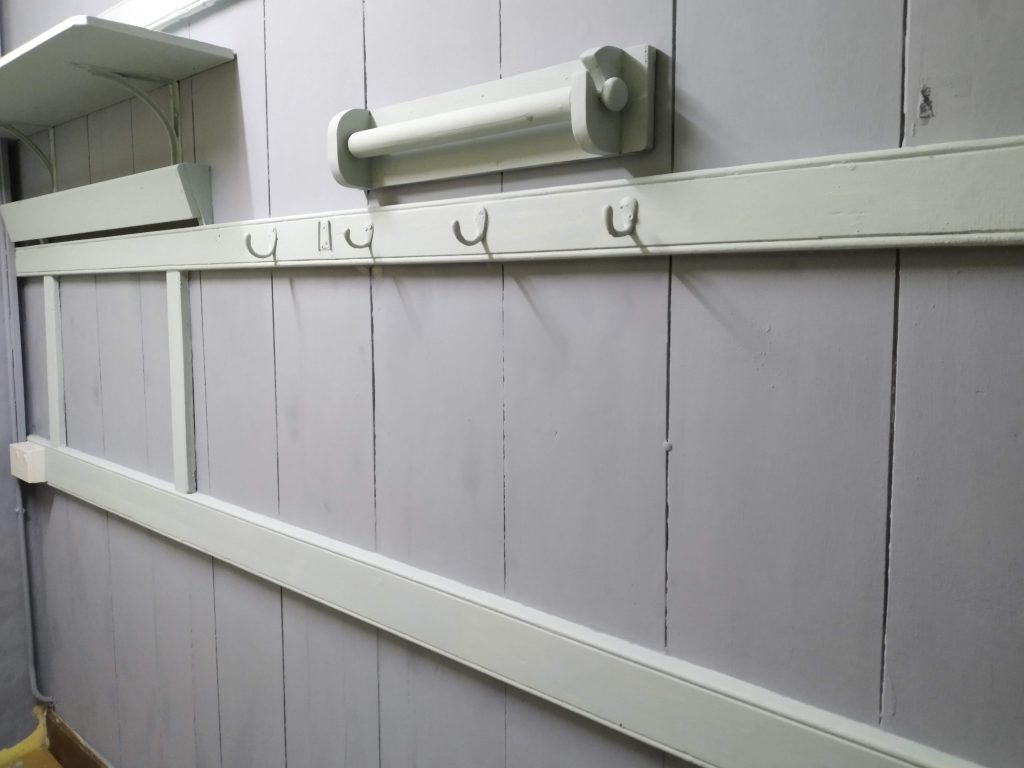
There is still quite a lot of work to do around the window and sink side, and the area where all of the cleaning materials are kept but with two of the walls done now it is really starting to take shape.
The final thing to sort out will be the flooring as originally this was covered with very old lino. When this was lifted the floor underneath was very wet as it has no chance to breath.
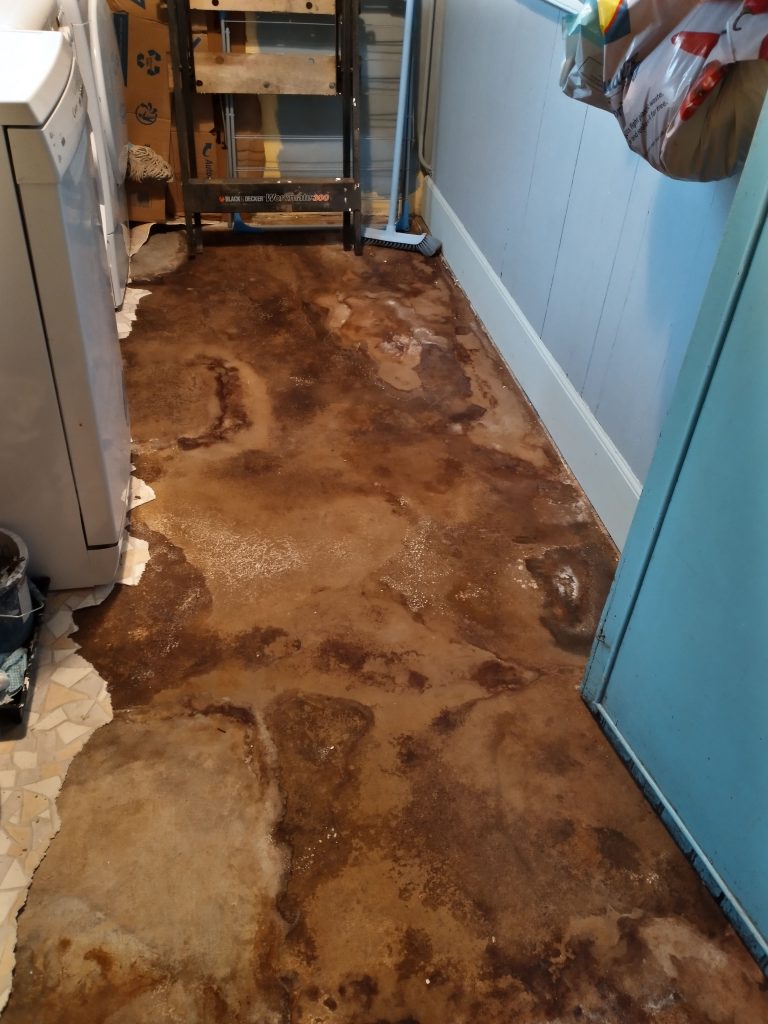
I suspect the floor is the same construction as the dining room which is slate slabs l laid straight onto soil (the utility room is actually created from a simple stud wall separating off part of the old dinning room) so it is logical to assume that the flooring is an extension of that. The problem is, a concrete screed has been laid over the top of it but in some places this is quite thin and you can see some slate tile profiles breaking through. I had left the floor to breath and within a few weeks it had dried out and has stayed dry even with very cold and wet conditions outside so the next decision is how to dress it. I am tempted to get some good quality floor paint just to make it presentable and then next year attempt to take the screed back to uncover the original slate tiles. If I find that there is not full coverage of the original slate tiles or I am mistaken I can then relevel it and maybe lay new tiles down.
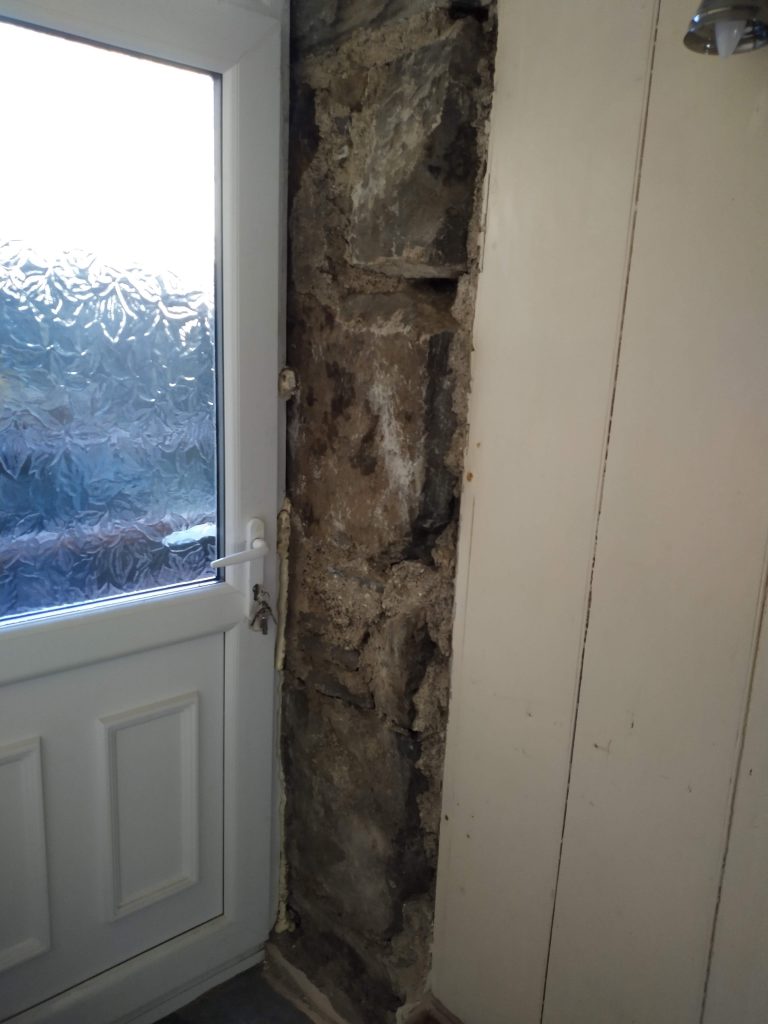
Whilst we are in the Utility Room area, it is worth mentioning the wall by the back door. This was another area that had been highlighted with damp on the structural survey and was indirectly in the vicinity of the valley which we knew was leaking. Bearing in mind once I had exposed the wall upstairs, I knew that on an average rainfall over night I was getting about 2 litres of water in, this would have been following a number of fall lines to dissipate and I suspect that some was tracking the floor structure above and finding its way behind the plaster by the back door. Once again, removing the blown plaster showed a lot of wet stone but some fantastic size pieces which once cleaned up will make a nice feature I think.
