Time to remove the carpet

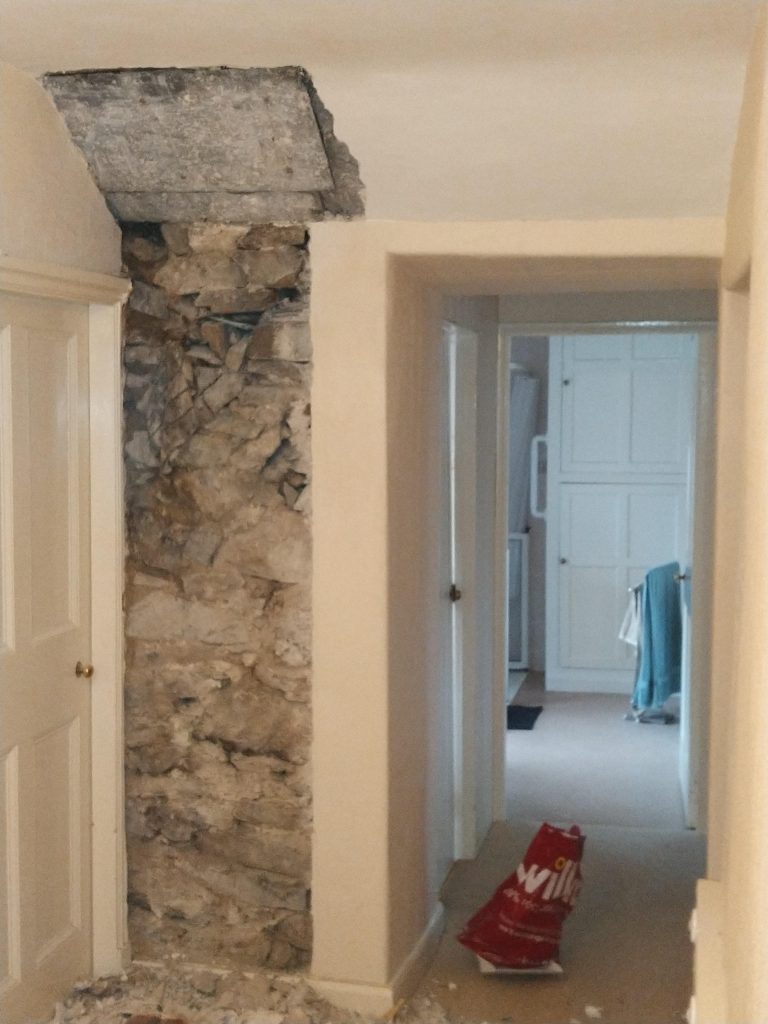
The last few weeks have not been kind to the hallway carpet! The leak in the roof has caused it to get wet a couple of times and the smell of old carpet and water lingers for a few days. I have had the roof inspected and can get someone to sort it but there is a 3 week wait so really I needed to think on my feet.

Luckily my sparks was due out today to run the mains wired CO detectors and the smoke detectors so he had to have the floorboards up in the hallway to run the cables for the lower level. As he had most of it up, it made sense just to rip it up and have done with it.

Interesting to see what lurks below the boards

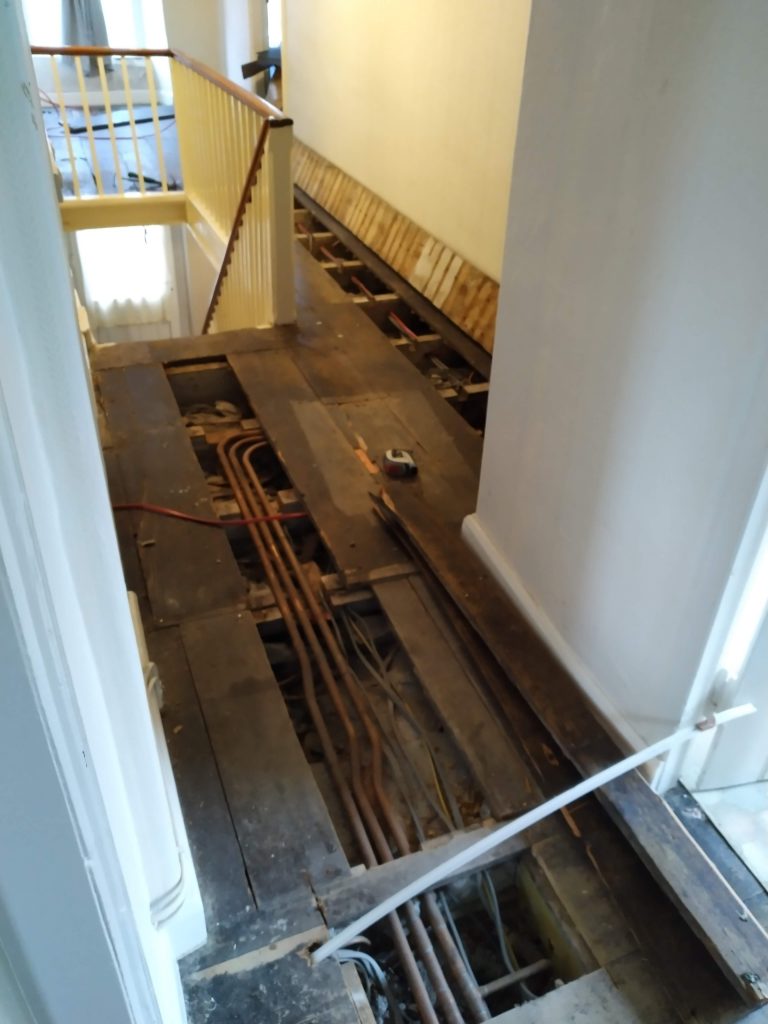
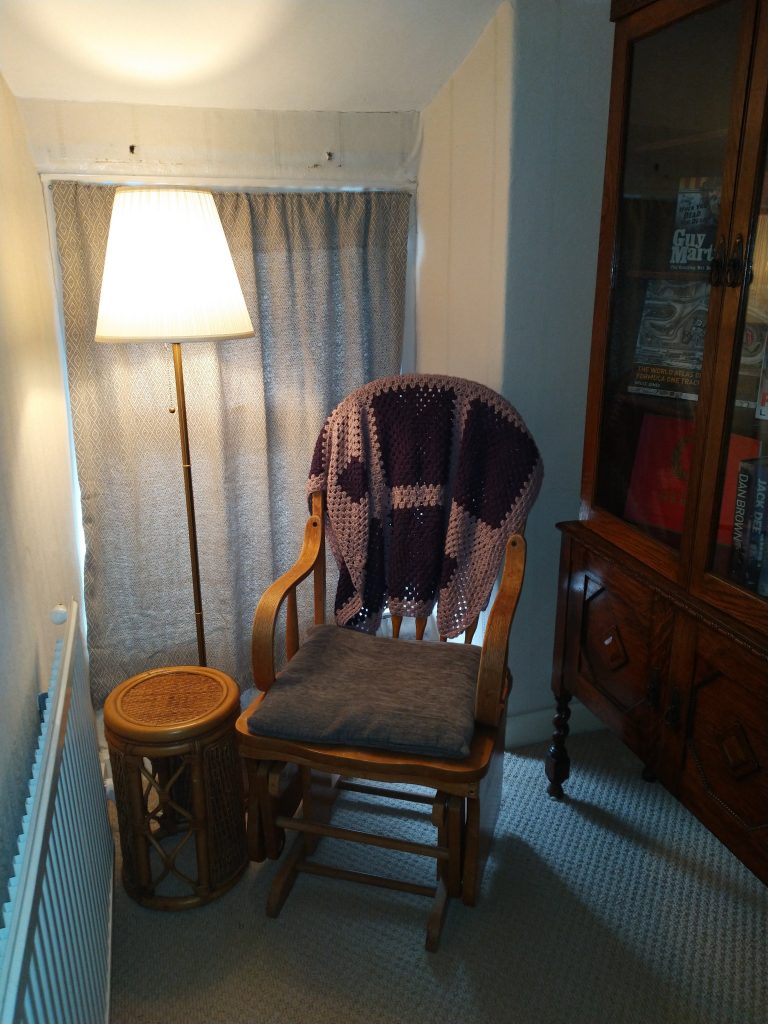
Once the hallway boards went back down, it is apparent that over the years they have taken significant “tradesman abuse” with a lot of knocks, splits and bits missing. At the moment I just wanted to leave it livable so once the boards went back down I just moved a couple of rug from other rooms to make it feel a bit warmer.

The question now is whether I make good all of the boards and leave it with plain boards and runners or maybe cap the boards with very thin ply and then have a nice carpet put down.

Temporary solution with some rugs and runners from other rooms until I decide what to do

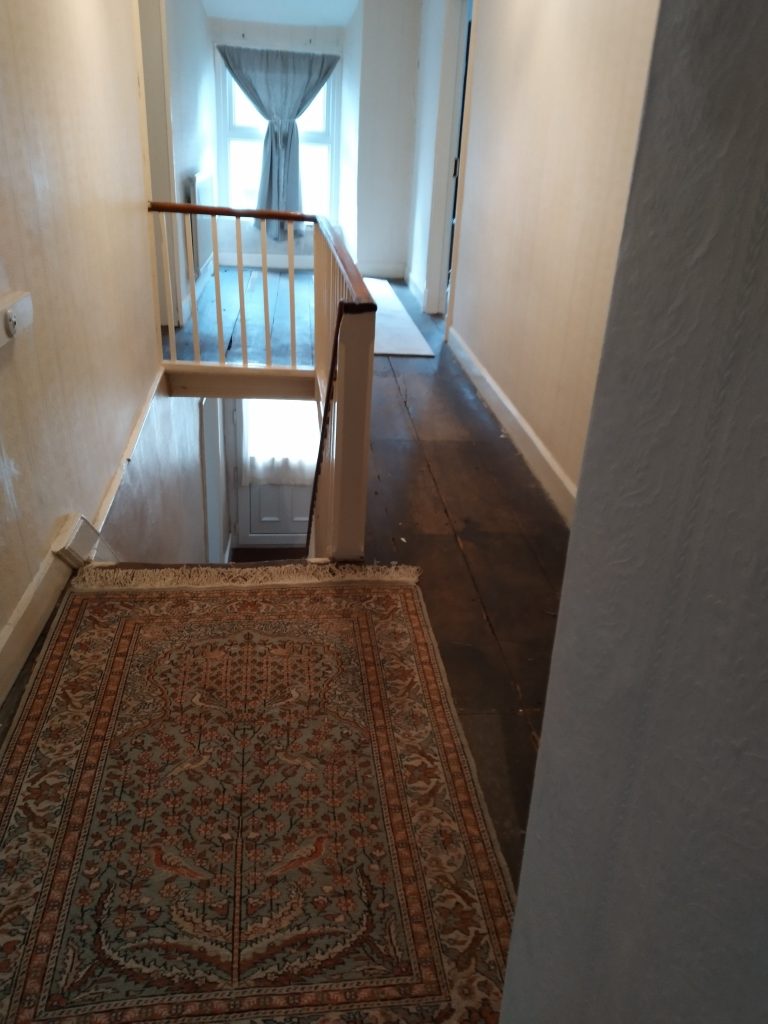
Of course, once the hallway was cleared, what it left was a grubby carpet occupying the stairs. It had been a long day but I just could not leave it there so that came up as well. Of course, this now leaves me with the new dilemma of bare boards, a mid runner or a full carpet!

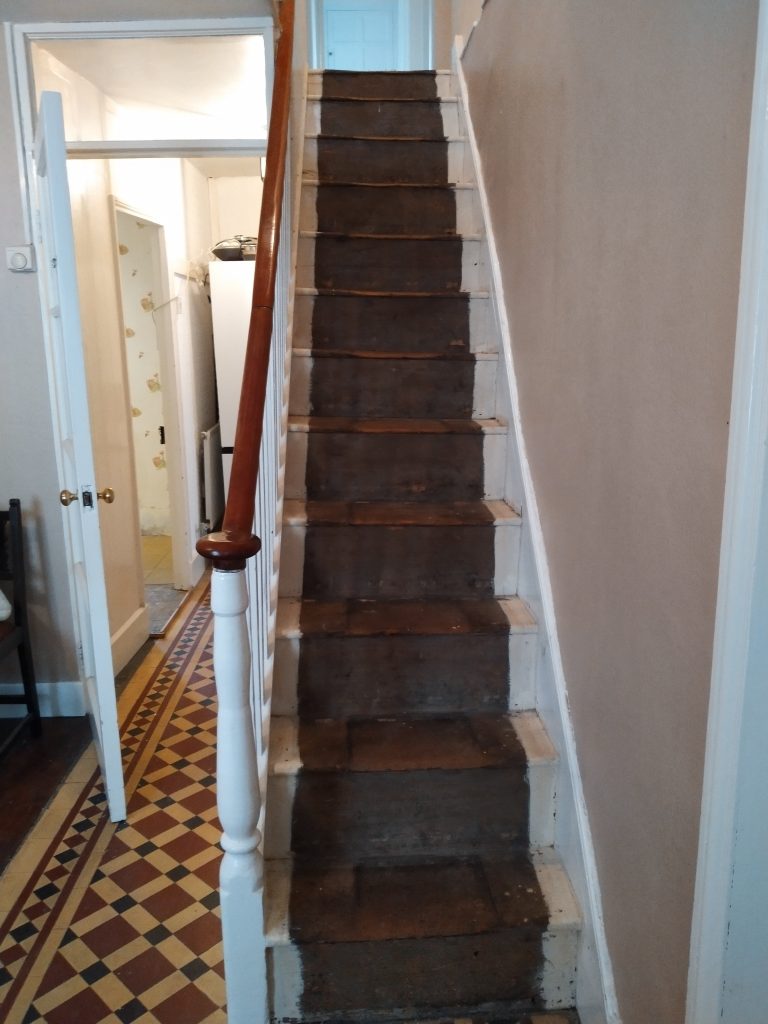
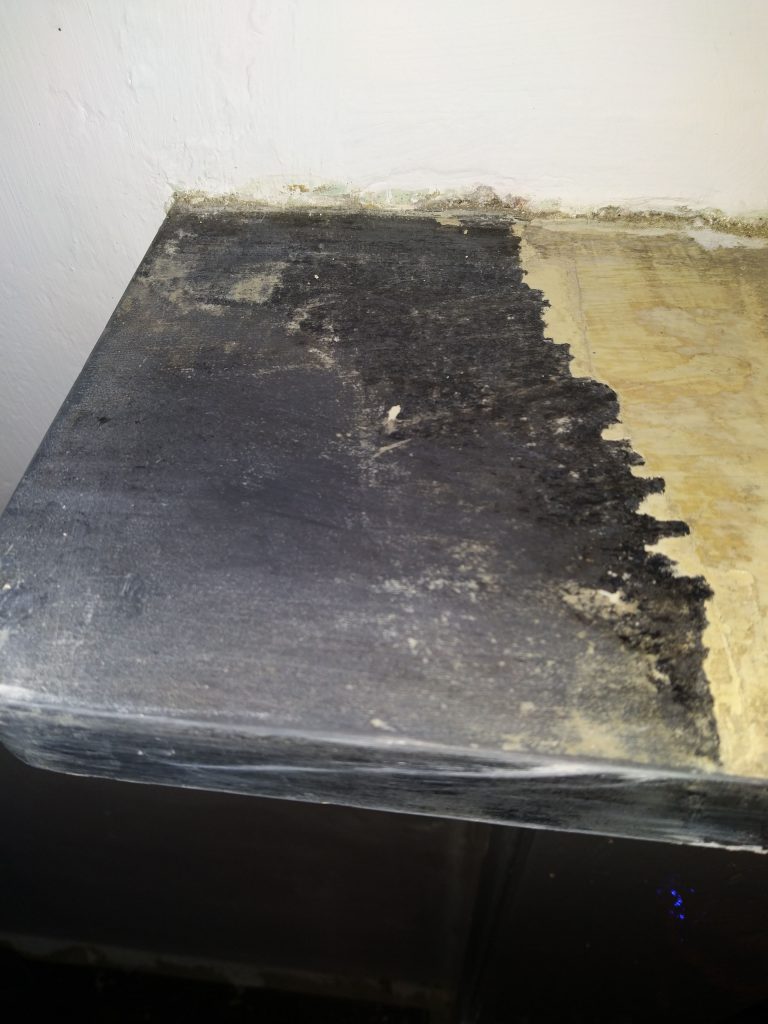
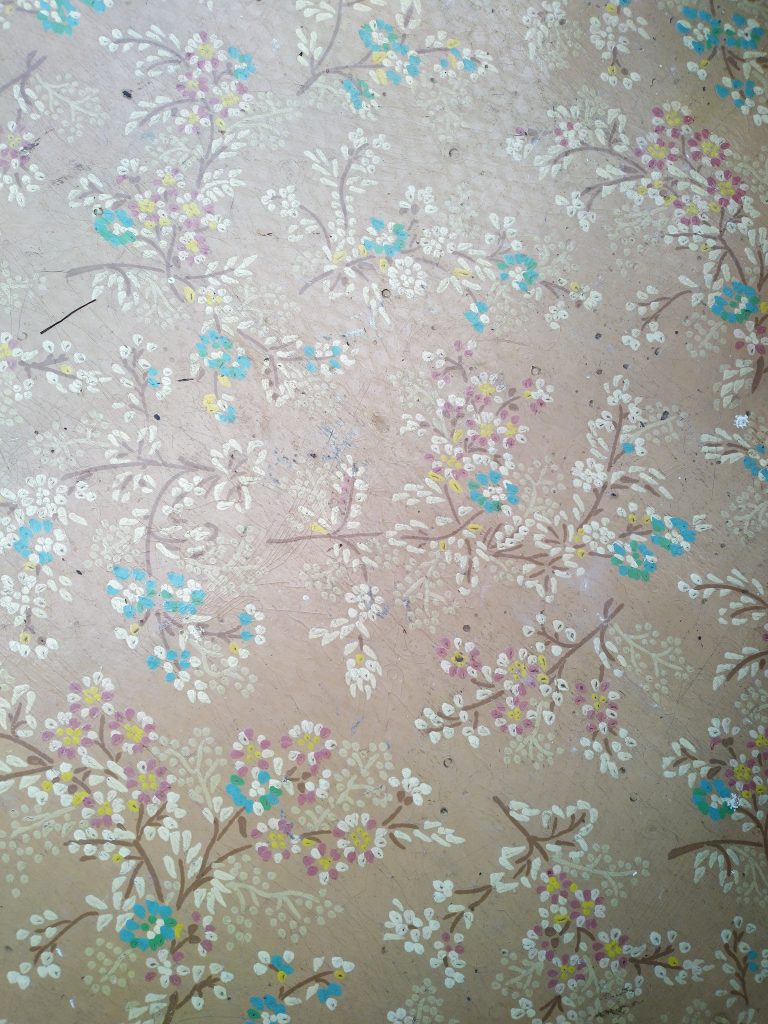
Of course, any write-up of pulling back old carpet would not be complete without a historical found lino shot so here we go…..

I have the car booked at the local recycling centre this weekend and the carpet will fill the Landrover but it is good to get it up and shifted. Just plenty to think about now regarding what to replace it with, but it wont be going down until the roof is fixed and the bathroom replaced.

Dining room taking shape

We left the dining room blog last time at the stage where we were starting to get a feel for the inglenook. The slate beam had been exposed to give a basic outline and really what was needed next was to get the fire disconnected so I could take this and the surround out and get the cavity opened up. First step was to get the gas fire capped and this was completed at the same time as the lounge one was gone. I decided to get the piping removed all of the way back to the adjacent room as no piping would be needed in dining room going forward.

Once that was clear, it was just a simple case of slowly dismantling the fire (which was reported as not working so that will go straight to the recycling centre) and then remove the fire place surround. This was popped onto a social media market place for free collection and was gone within a few days!

Once all of this was out, the cavity could be inspected and basically did not really give any greater indication. The fire was slotted into a breeze block cube which will need to be removed to get a better view.

With the lounge fire being capped off as well, I was able to make a quick call to the company fitting the log burner in the lounge to see if they wanted to take a look if they were in the area. A few days later, Bryn popped around and talked positively about our options in the dining room. After chatting about knocking the opening out I basically had two options. Save some money by doing it myself or pay an associate of Bryns’ who specialises in this type of work. As it is new territory to me and the fabric of the lintel and its load bearing capability needs careful monitoring as the lower brickwork is removed, I have opted to get an experienced team to do it. It also means that the time I would have spent doing this can be focused on getting the kitchen finished now that the water in there has been capped off.

Now if you recall, the colour scheme in the dining room was yellow and there were a number of spots where damp needs to be monitored as well as the underlying theme being woodchip which at some time has to go!

The plan was to do a fresh colour scheme but as the timeline for the fireplace is currently unknown and there is likely to be a lot of dust and disruption, I have decided just to get a white emulsion coat on the walls to make it look fresh. I have already completed two walls and it certainly look a lot better already. It was clear as the paint was going on that in some places the paper is compromised and underneath is going to need attention but that was the reason for approaching it this way. Basically get it looking fresh in parallel to the major works then monitor the damp for 12 months and tackle that the following year.

The space to the right of the fireplace originally had a shelf build in with a double plug socket on the chimney breast side. As I wanted the shelf removed to allow the walls to breath and hopefully this is where the Christmas tree is going to be placed, I have had the sockets moved up onto the ceiling on the beams.

The hole in the floor still needs to be sorted, but for now the false floor is working a treat, especially with the rug over it.

I will keep you all updated once the removal of the inglenook has been completed.

Ffestiniog Railway – the basics

https://www.festrail.co.uk/gallery-images/#gallery-9

Before I moved to the area, I had heard of the Ffestiniog Railway from my parents who had taken a ride on it during a holiday up here but had never been on it myself. I wish I had, or had at least taken my children as they were growing up. Whilst we lived close to the North Wales border in Flintshire, its incredible that we didn’t actually experience it. Hopefully I can put that right with the grown up kids and my grandchildren!

Anyway, with Glan Gors being just down the road from the main railway station, it seems silly not to write about this wonderful experience to encourage visitors to the area and hopefully if you come to stay with us, you will have a nice look around the town, try some of the local pubs and restaurant and take a trip on the railway.

The obvious thing to do first of all is to direct you to their main website as this can tell a much better story than I can but if you want a quick soundbite, a few of the main points are below:

  • The Ffestiniog Railway is the world’s oldest narrow gauge railway with almost 200 years of history, taking you on a 13½-mile journey from the harbour in Porthmadog to the slate-quarrying town of Blaenau Ffestiniog.
  • The historic trains climb over 700 feet from sea level into the mountains through tranquil pastures and magnificent forests, past lakes and waterfalls, round tight bends (even a complete spiral) clinging to the side of the mountain or tunnelling through it.
  • Passengers ride in some of the most comfortable carriages on any heritage railway in the UK, including first class Pullman luxury and freshly-cooked food delivered to your seat.

Now if that’s not to like, I’m not sure what is.

The route map below has been copied from the website above to give you a quick overview of the route and hopefully as the restrictions are lifted we will be able to welcome guests for the night as a stop over if you are looking to enjoy this little bit of North Wales luxury.

280221 – Llyn Du Bach via Manod Road Spur

Logged distance: 2.54 mile

Walking Time: 52 mins

Out Time: 1hr 45 mins

Ascent: 757 ft

Since I rekindled my love for walking, I subscribed to the OS app and map subscription. One of the great things about this is the ability to create routes on your laptop and then open them up on your phone and is basically a walkers sat nav. For “born again” walkers like me, this has removed the dependence of maps and compass but more importantly for me, especially at the moment as a lone walker during this period of restricted lock down, it allows me to both check my route as I go but also before my walk I send a screen shot to my kids, let them know when I have started then if I am not back by a pre-arranged time they can start to worry…..

It is perfect when exploring new routes you have never walked before as it gives you the confidence to ensure that you are near to the designated footpaths where sometimes they are not well trodden.

For this walk I plotted a simple 2 mile circuit out to Llyn Du Bach which is a local lake. The plotted distance was 1.9 miles and was estimated at 1hr 1 min walk time with the 2nd quarter of the walk having quite a significant steep elevation. On this occasion I was taking the clockwise route.

Glan Gors to grid ref SH 70781 45814:

A short walk from the house leads to a fork in the road where Manod Road splits from High Street and after walking past a few properties the number of houses reduces and the lane starts to give you a rural feel. Its not long until you pass the first nice view where the main waterfall can be found.

A short way up is the main waterfall with this part feeding lower into the town

Once you have passed this part it is an easy walk along the track until you come to the end of the lane. To the right you will find an access gate that leads you onto the mountain.

SH 70781 45814 to SH 71679 46044 Llyn Du Bach

So the first world of warning, although its a lovely walk, this section is steep. The overall elevation is just over 750 ft and most of this is covered in this leg which accounts for 1/4 of the walking distance. Its a fairly well marked out track and is basically in two sections. The first section was straight forward but the second section needed a couple of checks on the GPS as there were two options you could take. Did I say it was a long uphill? Luckily the end result was the arrival at Llyn Du Bach which is a small lake known for Fly (Trout) fishing.

Llyn Du Bach

SH 71679 46044 to  SH 71107 45432

From the lake, you start the downward descent which regularly intersects with the stream and small waterfalls. The first thing to note is that the first section down to SH 71378 45798 did not have a clear footpath and it would have been easy to get the wrong side of the fencing. Luckily there were a couple of crossing points further down. The second half was much more defined and easier under foot.

 SH 71107 45432 to Glan Gors

The final drop down to Glan Gors is a wide rural road track which is well walked and sure underfoot. Once you get to the bottom you get clear visibility of the house and just pop over a stye to pick up the lane that runs alongside the back garden.

As you can see from my stats, my actual tracked distance was 25% over the OS plotting and almost an hour over the walk time. I put the timing down to the ascent phase but also me enjoying the scenery and taking loads of pictures as you see from below!

A little piece of solitude

Ignore the two holes in the wall above the curtain, the hallway is going to be one of the last parts of the house to be decorated. This is mainly because the carpet will not be removed until the bathroom is replaced but also with the leak in the roof discovered and the wall stripped back, painting it is going to be delayed.

Regardless of that delay, I still wanted to get the basic layout of the landing sorted and the area at the end by the window lent itself nicely to a little reading spot. As well as being next to a radiator, it had natural light from the window with a nice view and whilst there was no power for a nice lamp, it was part of the list for the electrician to put in for me so at some point I would have power there.

The first item to find was a nice bookcase and once again, keeping in character of the house and trying to avoid buying anything modern, I came across a nice glass fronted one with a lower storage area. This had a small spot of damage but nothing too serious and works well for both books and board games so that was bought and put in place.

The next job was to source a chair and I really wanted a nice rocking chair. Apart from the fact that I have innate fear of waking up in the night to go to the loo, switching the hallway light on and seeing the rocking chair moving by itself, I thought I would sacrifice that fear in order to get what I wanted. A family friend kindly gifted me a lovely one and paired with a blanket knitted by my Mum, it finished the corner off.

The curtains came from Dunelm and I only needed one for the width so I have got to get the sewing machine out to split the curtain into two and hem the edges but that is just a couple of hours in the evening to sort, then all it needed was a coffee table and light and the area was finished off.

It has turned into a lovely relaxing area and once the walls are painted and the new carpet is down I think its going to make a lovely reading area for guests.

Roof repair part 1

When you embark on buying an old house, you have to take on a level of risk hence the reason for getting a full survey done. But as we know they are filled with disclaimers and caveats and say things like “we don’t lift floor boards and we don’t do this and that” so I have treated them as an indicator to inform you.

My two markers to watch out for and budget were damp (as this was not just cited on the report but also visible in places) but also the roof. Now the report actually gave this a generally good coverage, inspecting the visible trusses and felt condition, pointed out a number of damaged slates and a few other things but my worry was always, what if I need a new roof? as I believe they can be quite expensive. The worse I had experienced before was losing tiles and ridges on a previous property which was prone to being windswept but nothing really major.

So when it came to buying Glan Gors I always knew year 1 and moving in during the winter was going to quickly flush out any issues with the roof!

Once I had given the house a good airing and walking around inspecting in detail, a worry bead popped up at the top of the stairs and in my bedroom as signs started to appear. Blown plaster and a staining were apparent and stripping the plaster back exposed an internal long term ingress where the stone work was blackened and had moisture and adjacent to it on the ceiling was a slowly expanding discoloured ring.

Yep, that looks like a little trickle

I also had some staining in the bedroom and as it was the other side of the doorway it seemed logical to cut a small section out to see if this cast any additional light on the problem. Using a small push saw I cut out a section about the size of a standard envelope and immediately could see water ingress on the bottom of the frame which holds the roof valley. This sort of correlated with the angle of moisture when viewed from the roof line and location wise the water seemed to align with a piece of flashing which I can only assume joins part of the valley together in the lower 1/3. Popping up into the attic and locating the valley, the higher parts were dry so the lower flashing join seems to be the probable culprit.

Gotcha…….

Armed with all of this information and being relatively confident that this had been a long term issue and therefore any damage was probably already establish I was able to contact a roofer and not get too stressed as I knew I was going to have to wait until he had a free slot.

The only problem now was that whilst before I knew I had a problem but could not see the extent of it, now it was opened up, when it rained I could physically see the water dripping down the wall, and I mean dripping! My only option was to find a way to capture it and this is where I am learning to improvise. If you have a look at the picture below, the item circled is a tea towel tucked into a space between the mortar. This now collects the water and is folded in such a way that it forms a point at the end to direct the drips into a bucket on the floor. On an average night of rain I’m collecting about 1.5 litres, and to think previously that has all been soaking into the stonework and plaster!

The final bit of the preparation was to clear back the whole wall to really let it dry back so I have cut the plaster back to the skirting and then have gone to the right until I found solid dry plaster. At the same time, there was staining just above it on the ceiling so I took the opportunity to cut this back as well.

I was really expecting to see plaster board which I would cut out, giving the roofer another view of the underside so imaging my surprise when I discovered that the ceiling contours are actually made up of slate sheets nailed to the rafters!

My problem now is that I can really envisage this restored back to the stone work, repointed and having it as a feature archway at the top of the stairs!

I will keep you all updated once the roofer has been out!

Guest room almost there

Now that the side show of discovering the roof leaf and looking at the crack in the box room are underway with a way to fix them I was able to get back to some basic decorating. The Cariad (or Love) room had all of the furniture in place and really just needed to be repainted, the curtains hung and the fireplace restored.

We had picked a nice subtle pink to compliment the primary grey bedding and cherry wood stain on the bed. I had already used this as the feature wall in the lounge so had a rough idea of how it dried back. Whilst the original plan was to do all of the walls in this colour, as the fireplace still needed to be stripped back and there would be a risk of some blemishing at the junction with the wall, short term I thought I would just lay down a couple of coats of white emulsion to finish the room and freshen all of the walls. I may end up leaving it this way, I’m not 100% sure yet and will probably get a few opinions from family when they stay.

The bed was purchased from “Get Laid Beds” and whilst a bit of a luxury buy as it is a kingsize as well, it works really well in the room. Originally I was going the dress the bed with some voile panels or drapes but once again, I think I will let the room settle down now because sometimes, less is more?

The other furniture in the room (the mirrored dresser and a small chair in the other corner) was purchased from Timeless Furniture Wrexham (who you can find on social media) and the trunk was found in the loft.

The only final part now to sort out (as well as shortening the new curtains) is to refurbish the fire place. I am not 100% sure of this at the moment. Stripping the top shelf exposed multiple layers of paint and an unpredictable finish at the slate level. In some cases all of the lacquer come off and in other places the lacquer was retained (see below).

At the moment, because of the overall risk of a lot of damage being caused I have decided just to strip back the shelf and paint the surround. I have chosen a grey to compliment the bedding as my starting point but I think the shelf is going to need a lot on thinking about.

Current plan is black hearth, grey surround, black grate work then try and get the mantle back to black as well

Whilst this is the guest room, I am sure every now and then I might sneak a crafty week in there just to enjoy the luxury everyone else will be experiencing!

Found the wall at last

I wonder what is behind this overgrowth?

As part of the initial walk around the garden, I came across a concrete slab held down by a large stone. Checking this area out, it was apparent that a large stone wall led off to the right of it (you can see the end of it in the picture above).

Having limited experience of “serious” gardening you wonder about cutting something back but exploring the overgrowth, their was a lot of dead branches so I thought I had little to lose by cutting in back. That way I could both inspect the wall and plan it as a feature in the garden as well as allowing fresh growth to establish itself over the next few years.

Coming to the house with no gardening tools, a trip to B&Q and an online shop with Amazon kitted me out with a good set of starter tools and soon I was ready to attack the wall with a sturdy set of secateurs and a jab saw.

The weather this weekend was set to be cold on Saturday but my logic was I may as well be cold in the garden doing stuff, than cold in the house! Plus being sat behind a desk all week, its good to get out at the weekend so armed with my tools, a warm hat, gloves and a pair of strong boots, I set about cutting it back.

Its quite surprising how long it took, as I had to systematically trim back the smaller branches to get to the thicker older structure but in the end I think it looks much better.

After….

What was interesting during this exercise was what was found at the base of the wall, namely a number of cut pieces of drain pipe. These were about 4 inch in diameter and around 18 inches long with a number of them pushed into a couple of brick spaces at the base of the wall. I can only assume that a natural habitat had been created for wildlife but having had a problem with rats in a previous house I wanted to keep an eye on the garden before encouraging wildlife! I suspect due to the rural nature and no regular food present (such as duck food as in my previous garden) it is more likely to be field mice than rats and maybe next year I will get my garden night camera back out and see whats going on out there.

The next challenge will be dealing with the garden waste. I have a number of options. The first is to use it as the start of a compost heap. I have never started one from a heap before so am reading up on that. Obviously the next option will be to bag it up and take it to the tip in the garden waste section. Not a problem I have the Landrover as my workhorse and the tip is 10 minutes away but the other option is just to cut it up, bag it and put it in the workshop to use as kindling for when the log burner is fitted.

Its surprising how much waste you create!

Once that was all done, all what was left was to give the other part of the garden a good rake over with the new leaf rake to leave it looking a bit tidier, ready for when the weather gets a bit more mild.

I’m hoping to spend a few hours out there next weekend, at present the forecast says 11 deg with a 20% chance of showers.

Food Blog Introduction

When we do start receiving guests at Glan Gors it will be on a “board only” basis. As part of our offering we will provide access to tea and coffee and a basic breakfast for the guest to prepare themselves.

But Glan Gors is more than that and as part of the restoration, I wanted to create a nice working kitchen and a dining room with character where people can sit, eat, relax and chat.

Food and its creation (as a home cook) has been an evolving part of my life. I have always found cooking relaxing and a way of destressing from a hard week at work and when my life changed direction one of the things I bought with me from my old life was a selection of my favourite recipe books.

Cooking has been an important part of my recent life journey and one personal challenge to myself was not to get in a cycle of cooking the same thing each week, instead at the start I challenged myself to one recipe a week, then two and now as a general rule at least 4 meals a week come from my books.

At the moment, at the time of writing, two meals a week are fresh soups and Saturday is Curry night. I have also invested in a slow cooker which is a new concept for me!

In this blog, I want to share some of my favourite meals but also my cooking journey as I would like food to be an important part of life at Glan Gors and when guests come to stay hopefully this will inspire them to make use of the kitchen and maybe teach me a few things along the way.

Bread

One of the first new cooking areas I got into when I moved to my time at the farm was Bread. I did not eat a lot, mainly because I found the mass produced supermarket loaves to stodgy and the fresh baked ones…. well a bit expensive for what they were!

I also did not fancy the idea of a bread making machine, if I was going to make my own bread I wanted to understand the process from start to finish and also not be restricted to a loaf with a hole in the middle (well that’s my understanding of the outcome of bread machines).

So armed with nothing more than an inquisitive mind, I went to the supermarket, bought a box of dried yeast which conveniently had a basic bread recipe printed on the box and bought some strong plain bread flour and went home.

My first loaf was a simple white 800g loaf tin, but this taught me the basics of making the dough (yep I just used my food mixer with the dough hook), letting it prove, knocking it back, 2nd rise and then cooking it. And actually, I was really happy with the result.

My first loaf

My next attempt was half the ingredients to make a 400g loaf, but this just had to be hand formed into a simple round loaf and then after that I just played around doing a salt and pepper crust, a simple plaited loaf and then breaking the 400g dough mix into 4 large rolls and doing a couple with a cheese top. By this stage I was starting to get confident and was making bread to a quantity as and when I needed it.

My next deviation was to buy some wholemeal flour but I found a loaf made with 100% wholemeal to dense and chewy so I tried a 50/50 mix and actually that makes a really nice loaf.

I have had a couple of disasters with different ovens and also had one mix a bit to wet and it did not cook through and went straight in the food bin but my success rate has been pretty good.

The cupboard at Glan Gors is always well stocked now with 3 types of flour (white, wholemeal and seeded) and plenty of yeast. I do prefer substituting the sugar for honey for the first prove and I tend to use olive oil (mainly because it is to hand).

I am now at the stage where I can whip a dough mix up in a few minutes so if you are ever popping by and fancy some fresh bread on the table just message me before you set off and I will pop a loaf in!

I did actually notice whilst I was clearing the garden at the weekend, quite a few blackberry stems so you never know, it could be home made bread with home made blackberry jam soon.

I have a good range of bread recipes in my books and I am probably at the stage now where I am happy with the basics and ready to attempt more exotic varieties such as Brioche, Croissants, Focaccia and Bagels so watch this space if you are ever staying with us!