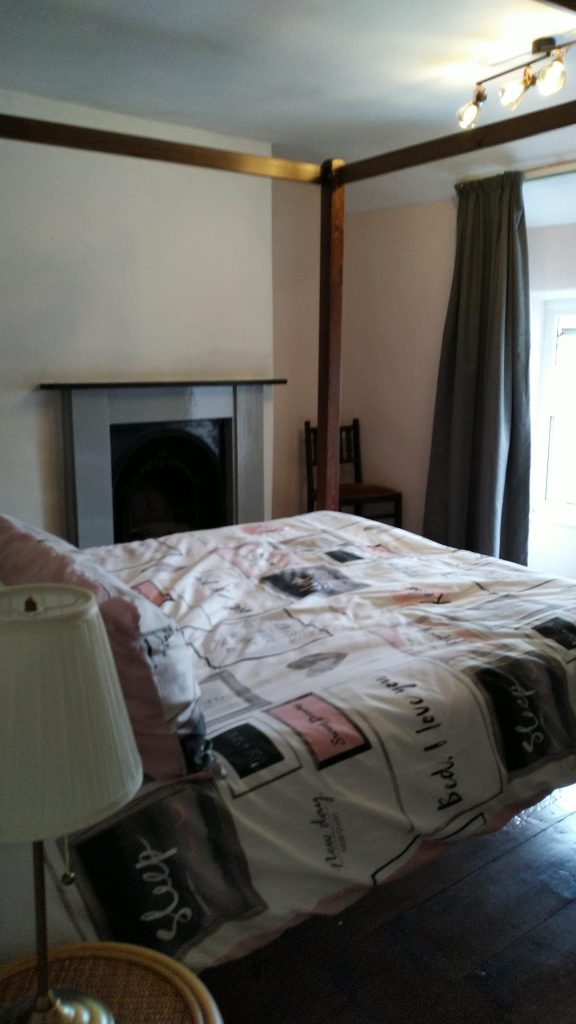
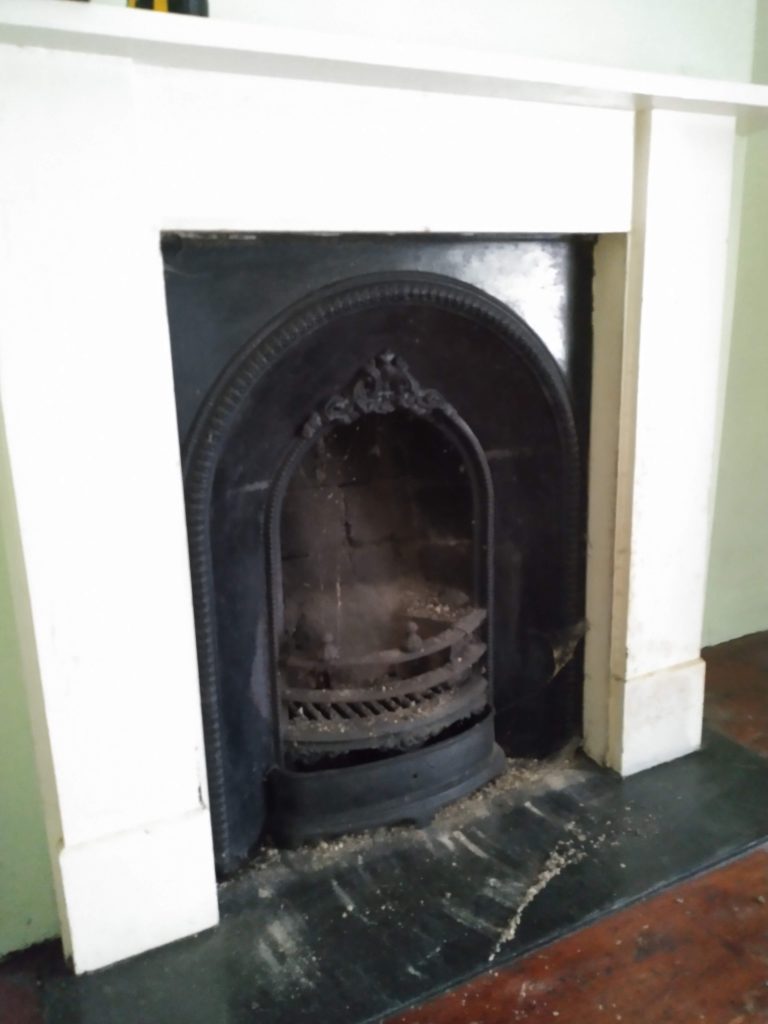
One of the wonderful features of Glan Gors was the original fireplaces in a number of the bedrooms. Originally I wanted to get them re-commissioned to use as open fires for guests in the winter but I was advised by a number of flue specialist that whilst the flues were viable, the efficiency is very poor and actually the government were “strongly discouraging” them making fireplaces useable again via significant red tape so I decided just to restore them and use them (as most people are now) as a nice feature.
The fireplace in the Cariad room was very nice on the eye but it was obvious that it had been painted multiple times with white gloss and I was unsure what was actually underneath.
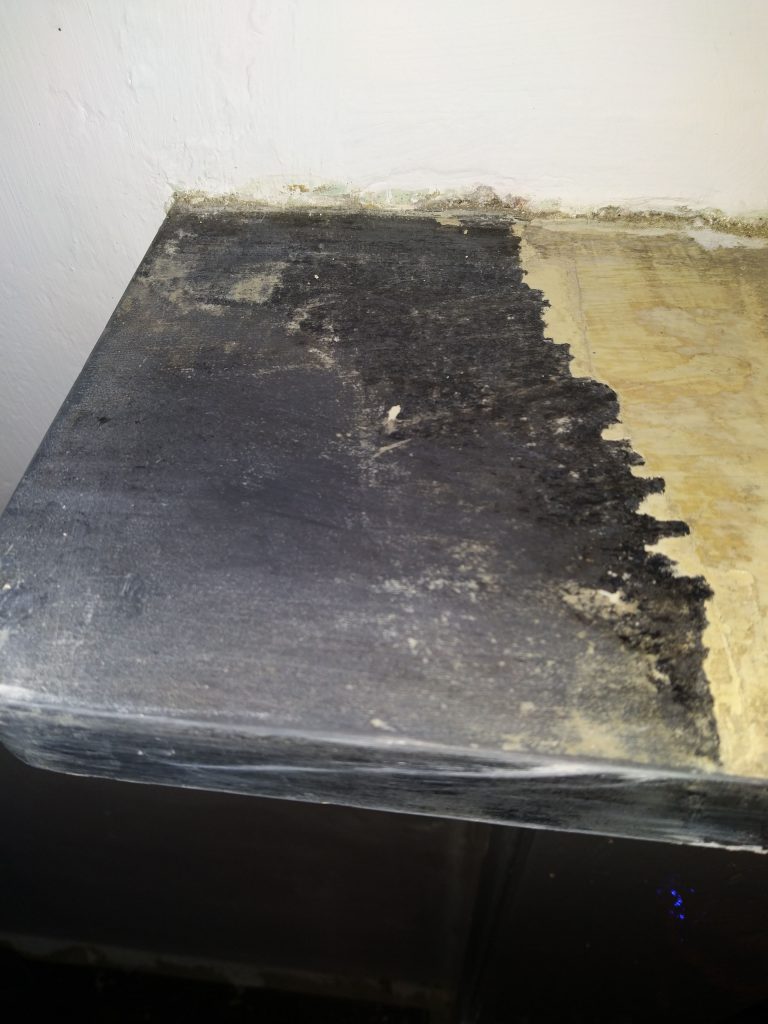
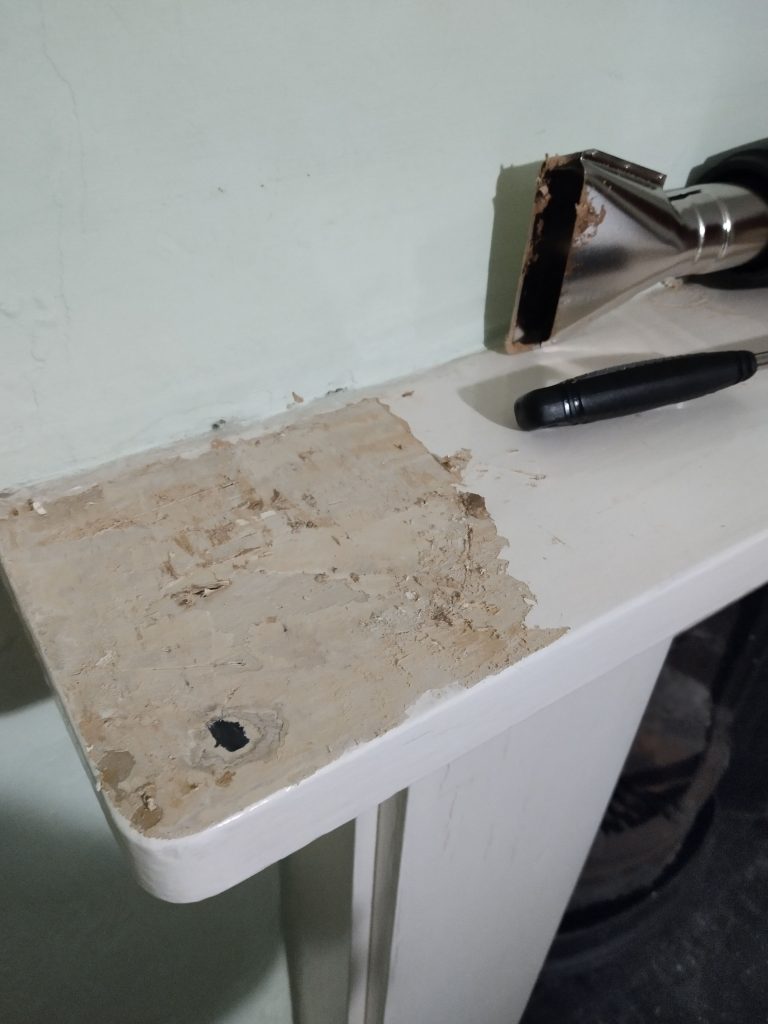
After a general wipe down, I decided to tackle the top shelf first as there was a nice horizontal flat surface to start investigating the paint layers. After researching paint removal methods, the two main options appeared to be liquid paint remover and heat guns. With the risk of the paint containing lead, I thought it best to start with paint stripper but after trying a well known brand and after that was limited in its impact, also buying a building suppliers own brand product, it was clear that the depth of paint and the compounding layers was going to be a struggle for it. Following the instructions of painting on a layer, leaving it for a while then scraping it off, the depth of removal was negligible so I put that to one side and tried the heat gun approach.
Being aware of the risk of potential lead content in the paint (not knowing how old the layers were), I ensured that the room was well ventilated and found the best face mask I could. I got out my heat gun and scraper and picked a small area. This actually worked better than the liquid paint remover and whilst very labour intensive, made steady progress.
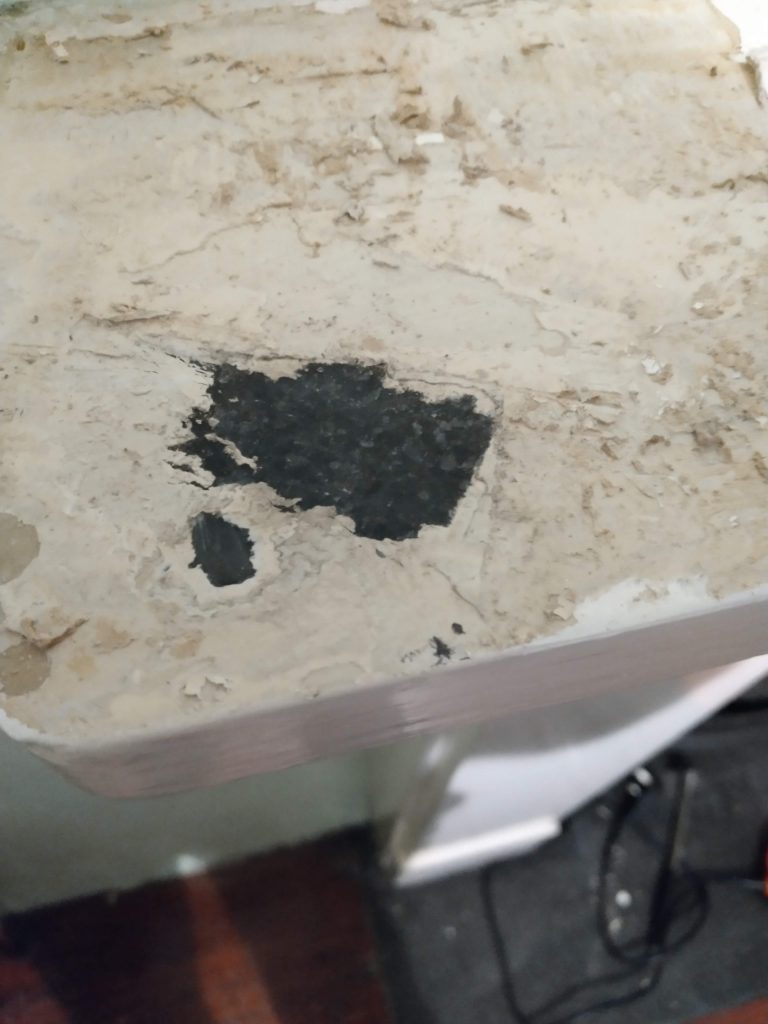
Once I had broken through all of the paint layers, I unearthed a small black surface and originally I suspected that this was slate but on further inspection it appeared more like a type of resin as small blemishes seemed to indicate a man made under layer. You can also see in the picture above on the far right (mid section of the picture) a higher gloss area which seemed to be some form of varnish or lacquer. At this stage I had to bite the bullet and try and work out how to take this back and get to a base layer and knowing that worse case I could purely repaint the whole surround (not what I wanted but a way of salvaging it), I reached for the different grade sand papers and wet and dry and worked down from course wire pad, fine soap/wire pads then the wet and dry to get back to what ended up as a smooth resin surface.
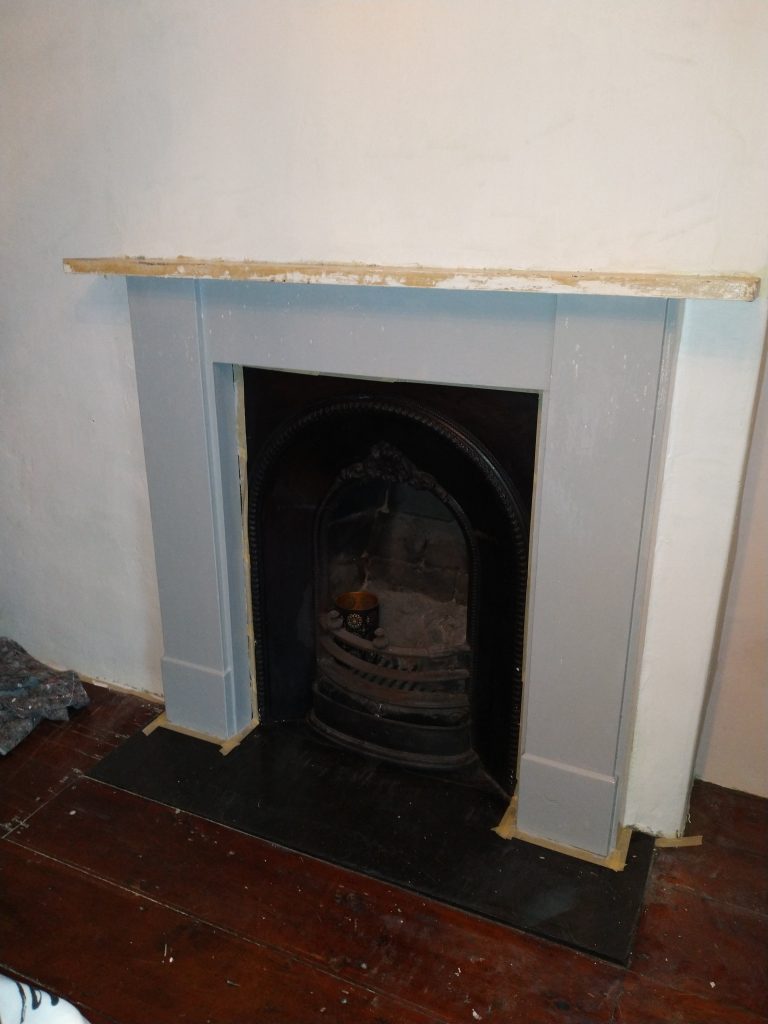
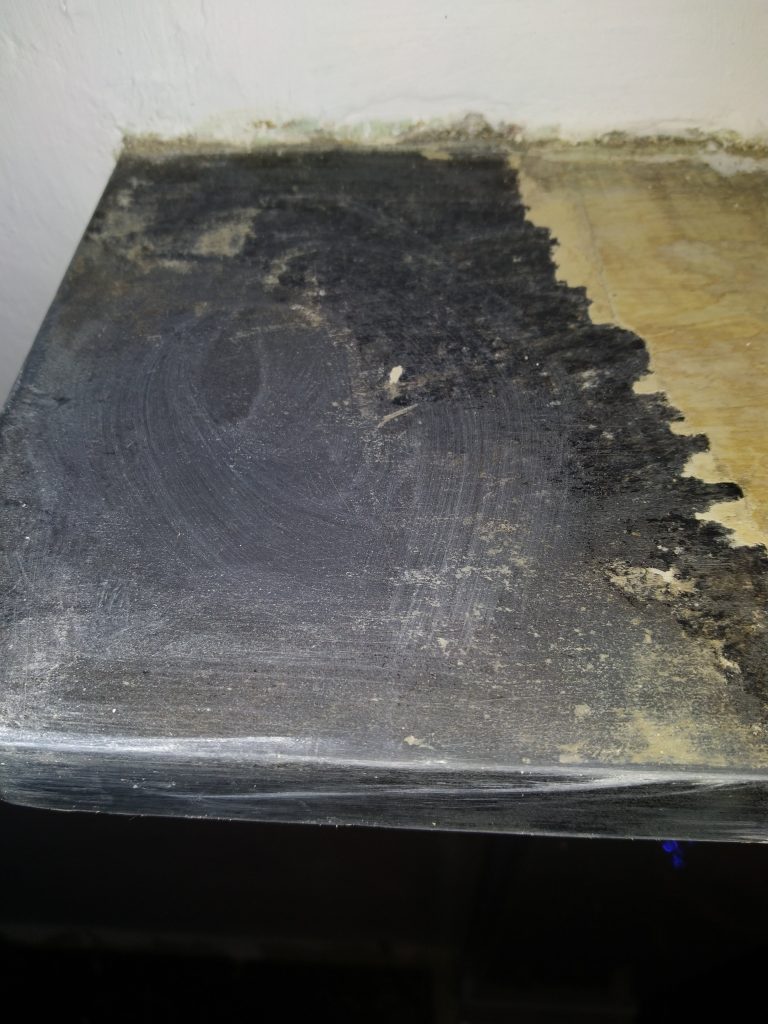
Once stripped back, it was just a case of finding different ways of enhance the finish and I found that a semi abrasive cleaning paste and then spray polish bought it back to a finish that was satisfactory.
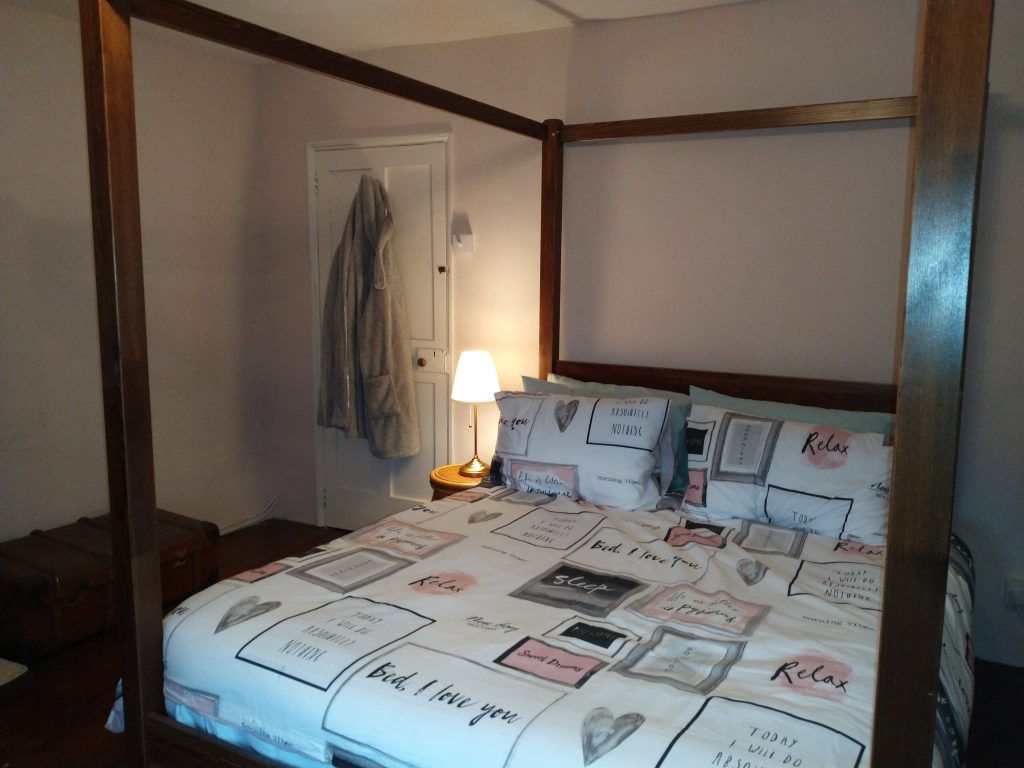
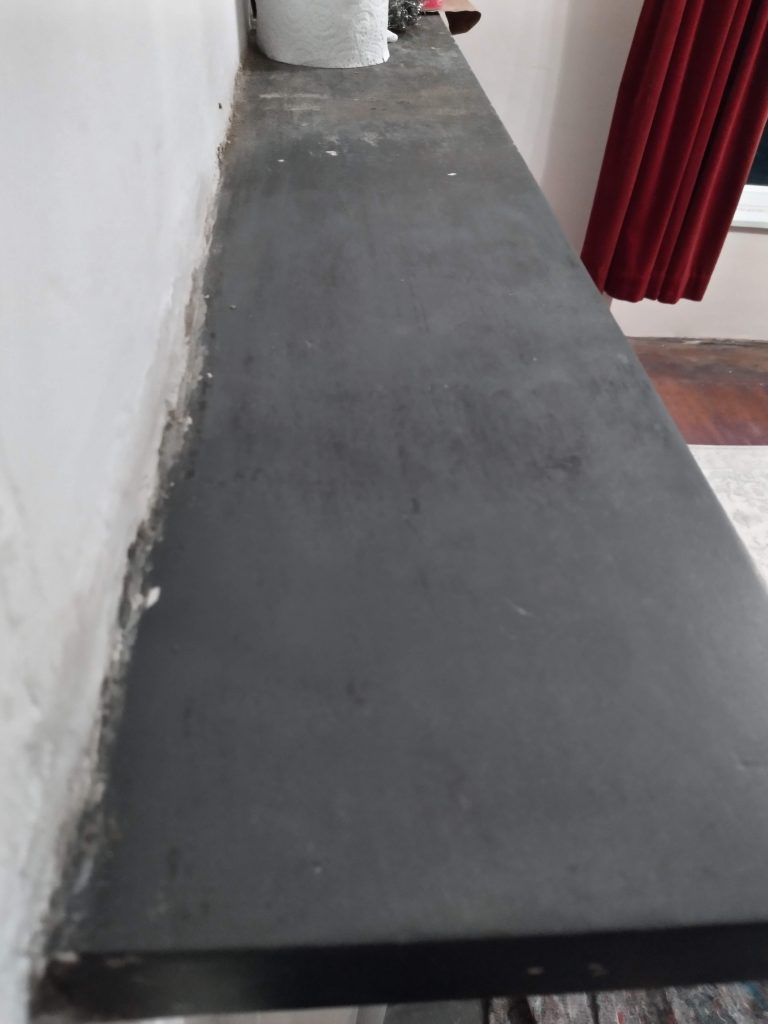
The next step was to tackle the sides and looking at both the volume of surface area and the fact that I was only going to get it back to black I weighed up the effort (at this stage) vs final finish and decided to paint it! I may when time permits, strip it all back but at the moment I was happy to balance the restored top with painted sides and looking at the overall color scheme, settled on a mid grey gloss.
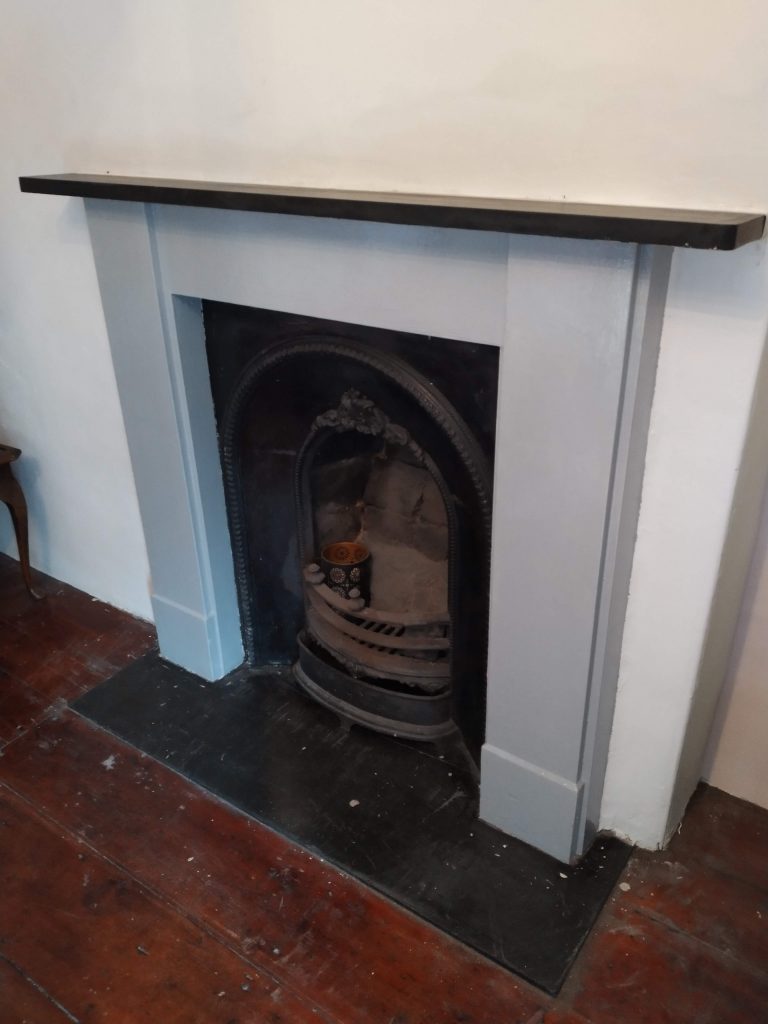
As I was painting over old gloss, I originally cleaned it back and lightly sanded the surface but even with this treatment, when the new gloss dried I had patches where the paint “slipped away” and did not adhere, leaving uneven patches. I thought the best thing to do was lay down a couple of coats of undercoat to give a new fresh base and this worked a treat, allowing the new gloss to bind and gave a nice smooth finish.
The hearth is natural slate and this just had a good clean with soapy water and the main metal work was given a good clean with fine wire wool. I still need to restore the metal work and need to research the best product for this but for the moment the room looks much better for having the surround freshened up.