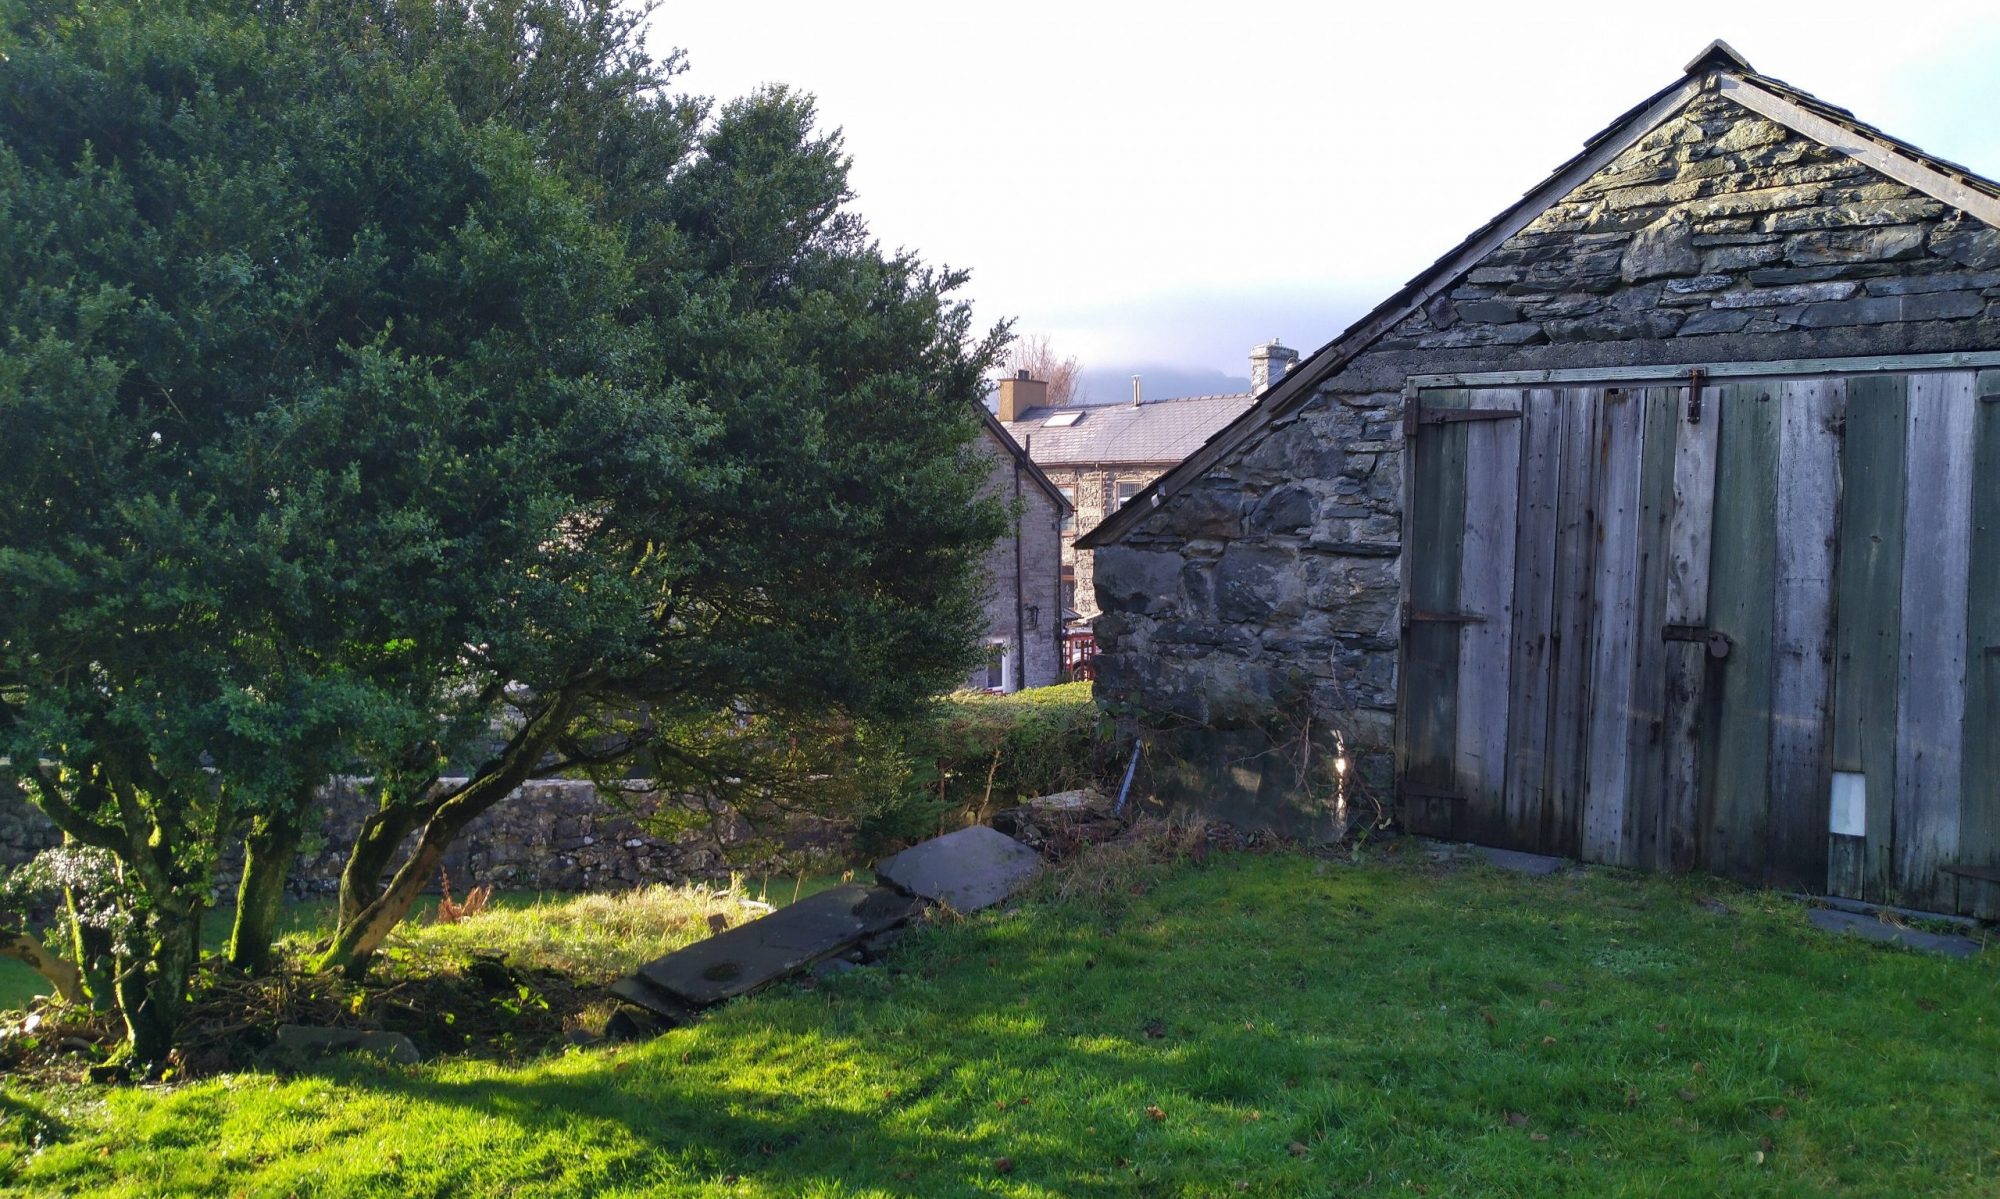
We left the dining room blog last time at the stage where we were starting to get a feel for the inglenook. The slate beam had been exposed to give a basic outline and really what was needed next was to get the fire disconnected so I could take this and the surround out and get the cavity opened up. First step was to get the gas fire capped and this was completed at the same time as the lounge one was gone. I decided to get the piping removed all of the way back to the adjacent room as no piping would be needed in dining room going forward.
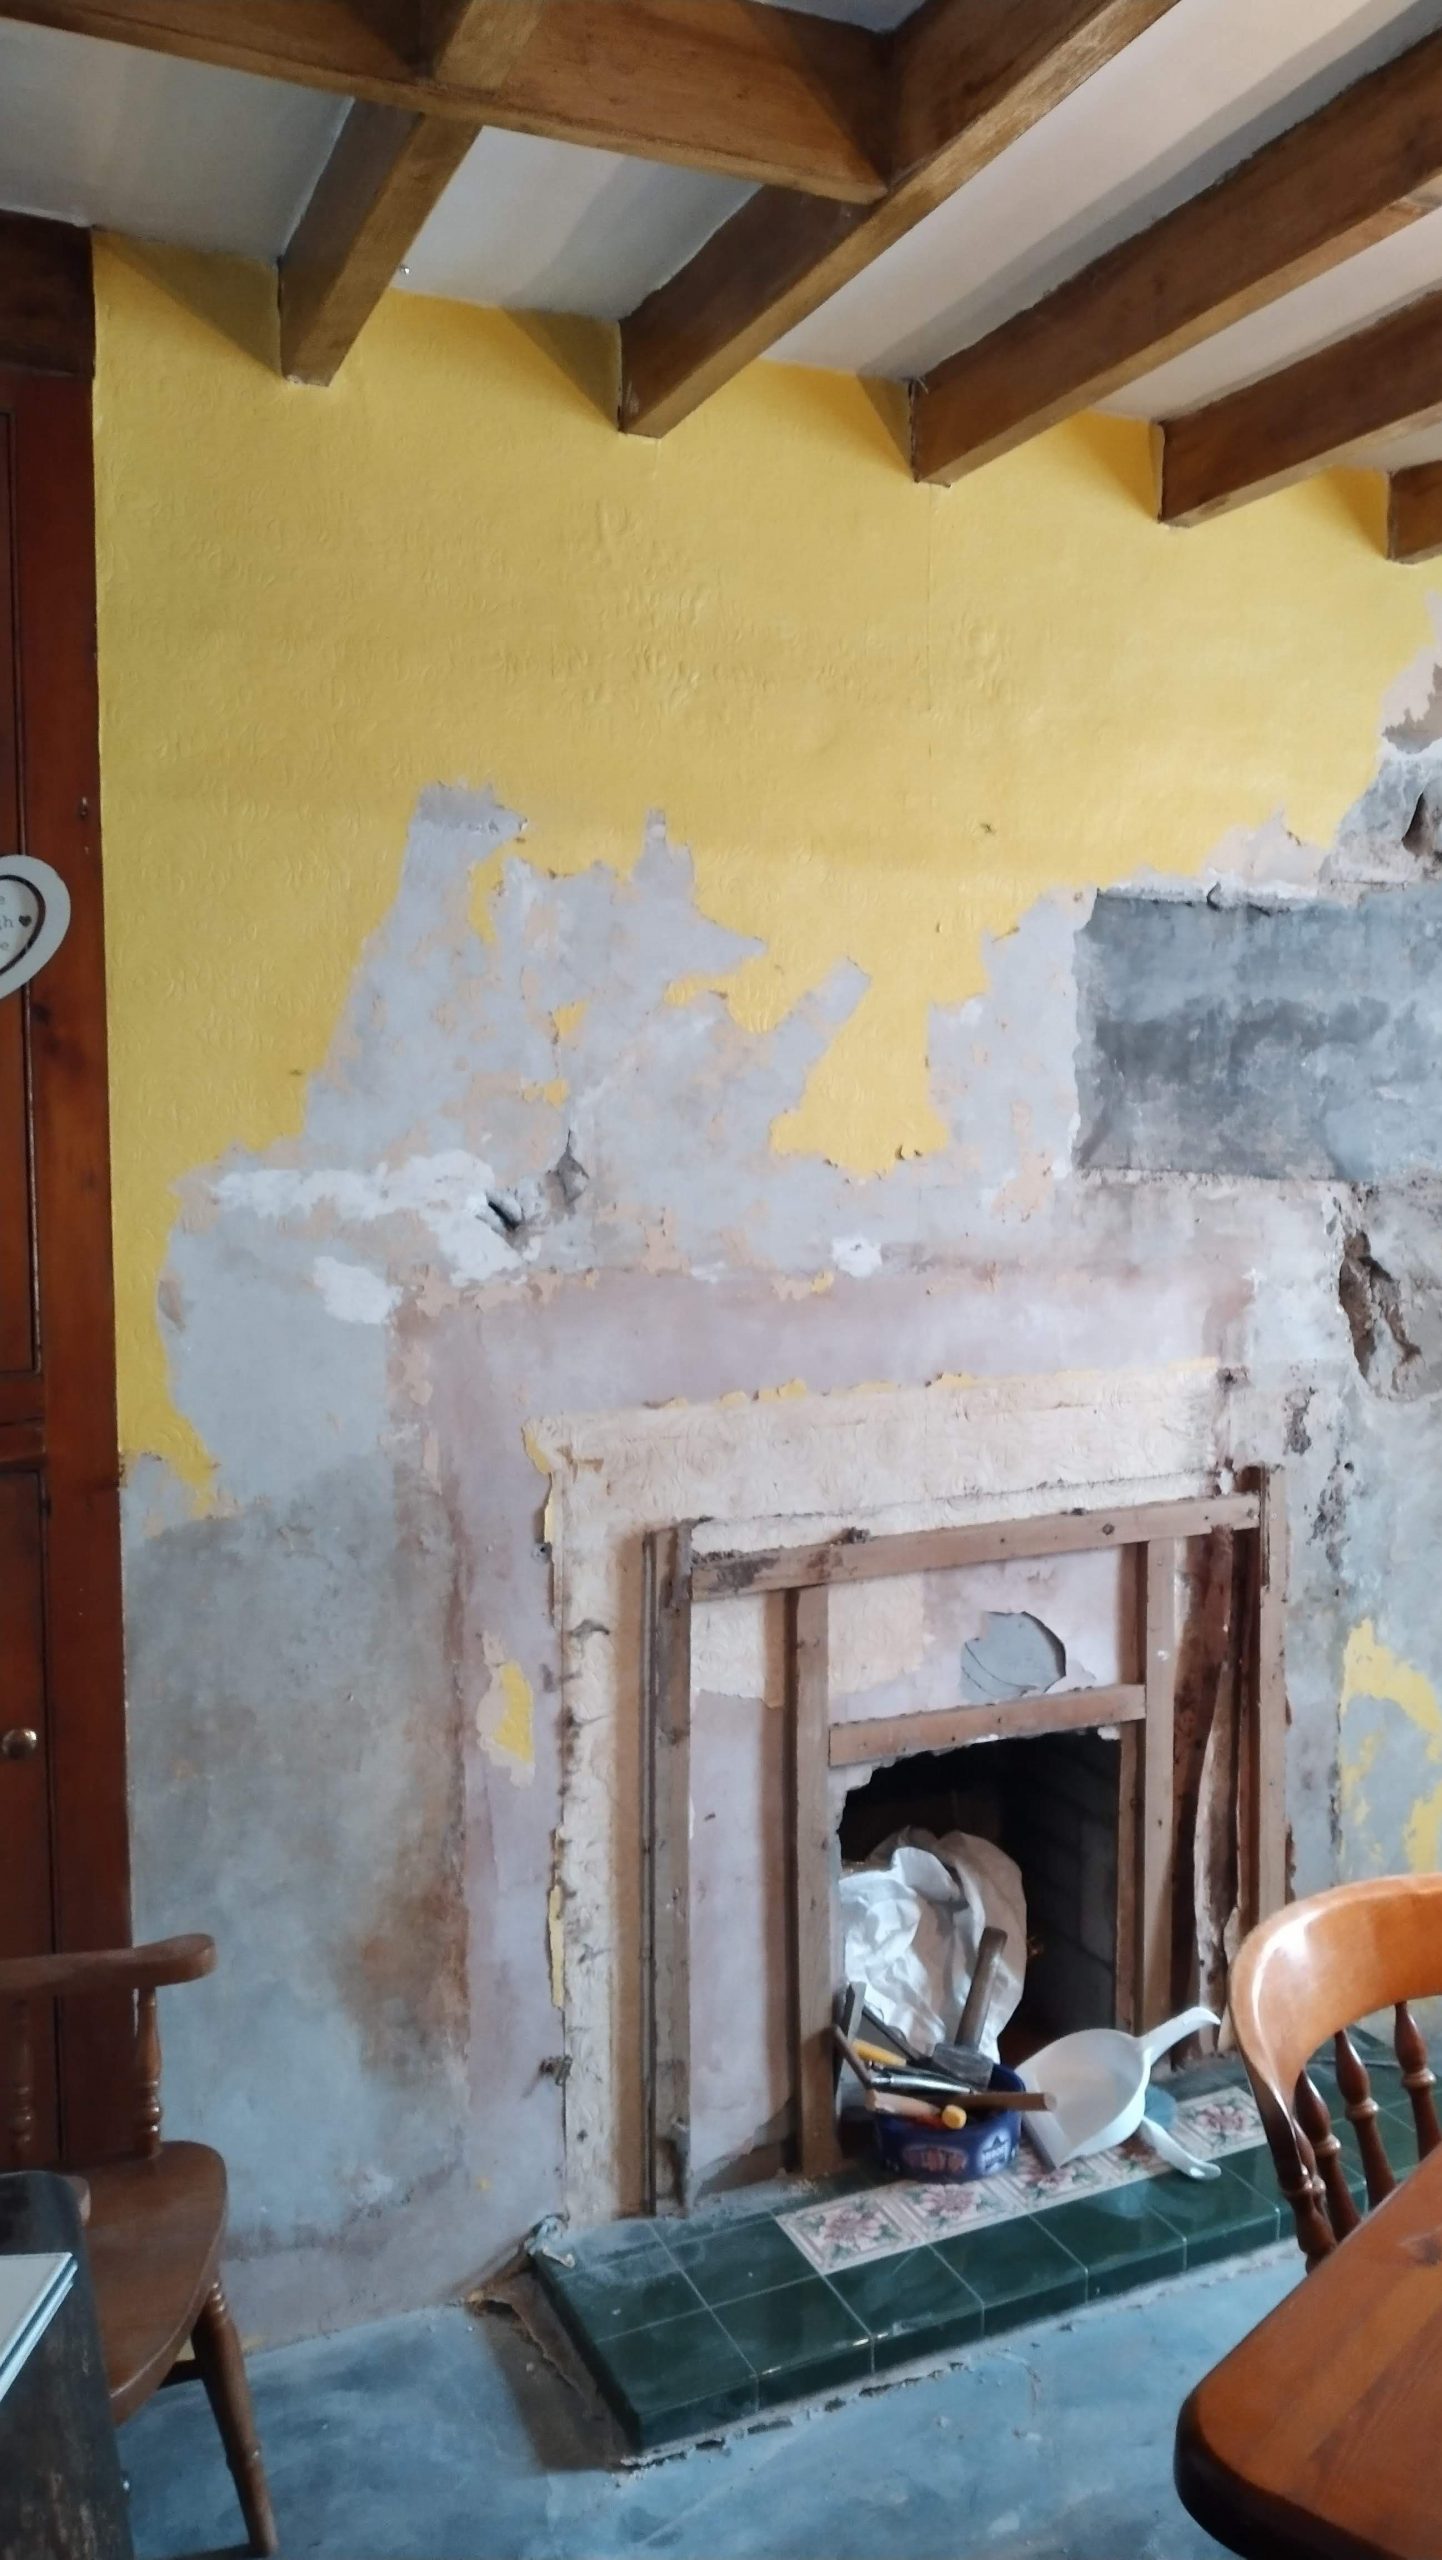
Once that was clear, it was just a simple case of slowly dismantling the fire (which was reported as not working so that will go straight to the recycling centre) and then remove the fire place surround. This was popped onto a social media market place for free collection and was gone within a few days!
Once all of this was out, the cavity could be inspected and basically did not really give any greater indication. The fire was slotted into a breeze block cube which will need to be removed to get a better view.
With the lounge fire being capped off as well, I was able to make a quick call to the company fitting the log burner in the lounge to see if they wanted to take a look if they were in the area. A few days later, Bryn popped around and talked positively about our options in the dining room. After chatting about knocking the opening out I basically had two options. Save some money by doing it myself or pay an associate of Bryns’ who specialises in this type of work. As it is new territory to me and the fabric of the lintel and its load bearing capability needs careful monitoring as the lower brickwork is removed, I have opted to get an experienced team to do it. It also means that the time I would have spent doing this can be focused on getting the kitchen finished now that the water in there has been capped off.
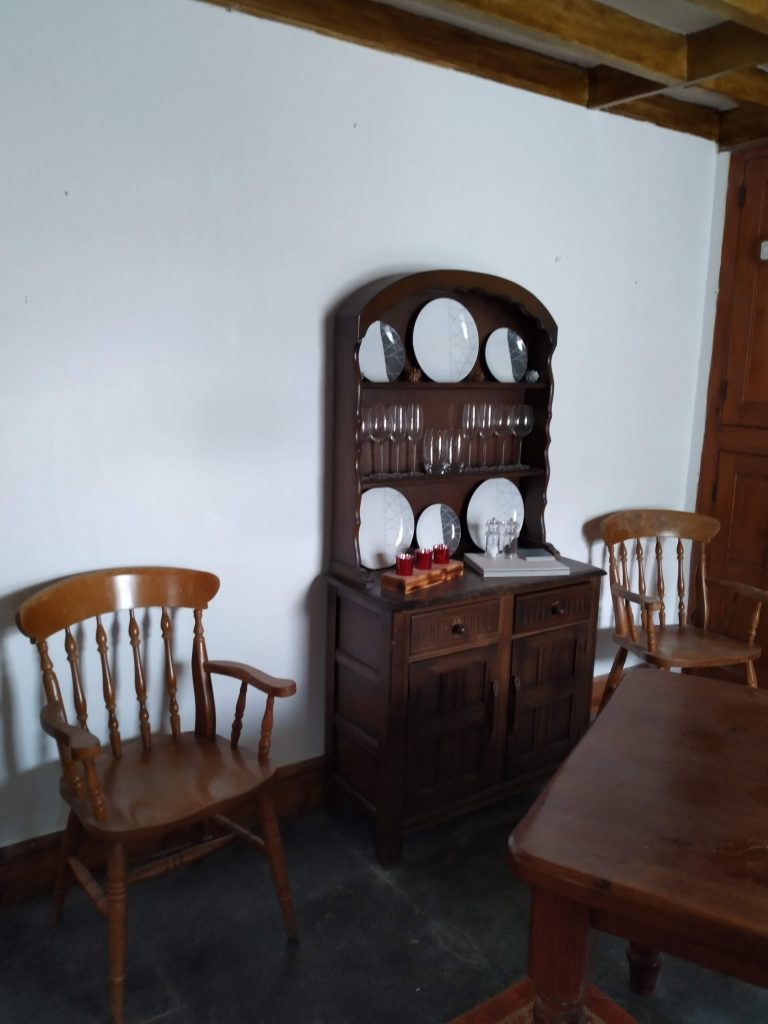
Now if you recall, the colour scheme in the dining room was yellow and there were a number of spots where damp needs to be monitored as well as the underlying theme being woodchip which at some time has to go!
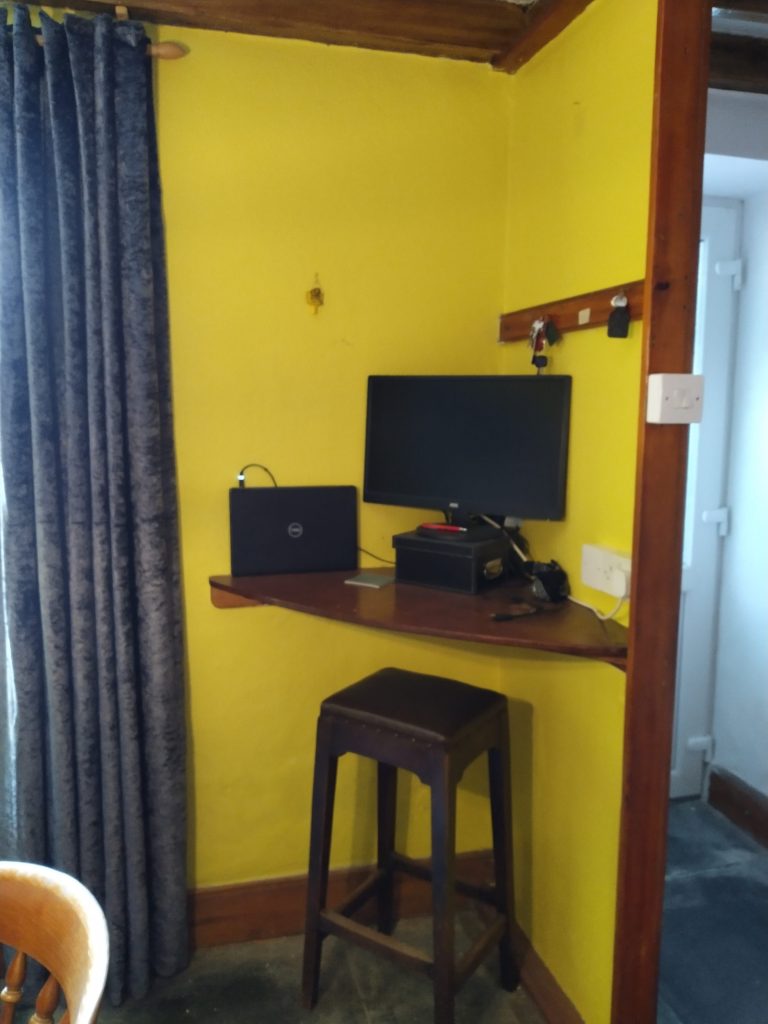
The plan was to do a fresh colour scheme but as the timeline for the fireplace is currently unknown and there is likely to be a lot of dust and disruption, I have decided just to get a white emulsion coat on the walls to make it look fresh. I have already completed two walls and it certainly look a lot better already. It was clear as the paint was going on that in some places the paper is compromised and underneath is going to need attention but that was the reason for approaching it this way. Basically get it looking fresh in parallel to the major works then monitor the damp for 12 months and tackle that the following year.
The space to the right of the fireplace originally had a shelf build in with a double plug socket on the chimney breast side. As I wanted the shelf removed to allow the walls to breath and hopefully this is where the Christmas tree is going to be placed, I have had the sockets moved up onto the ceiling on the beams.
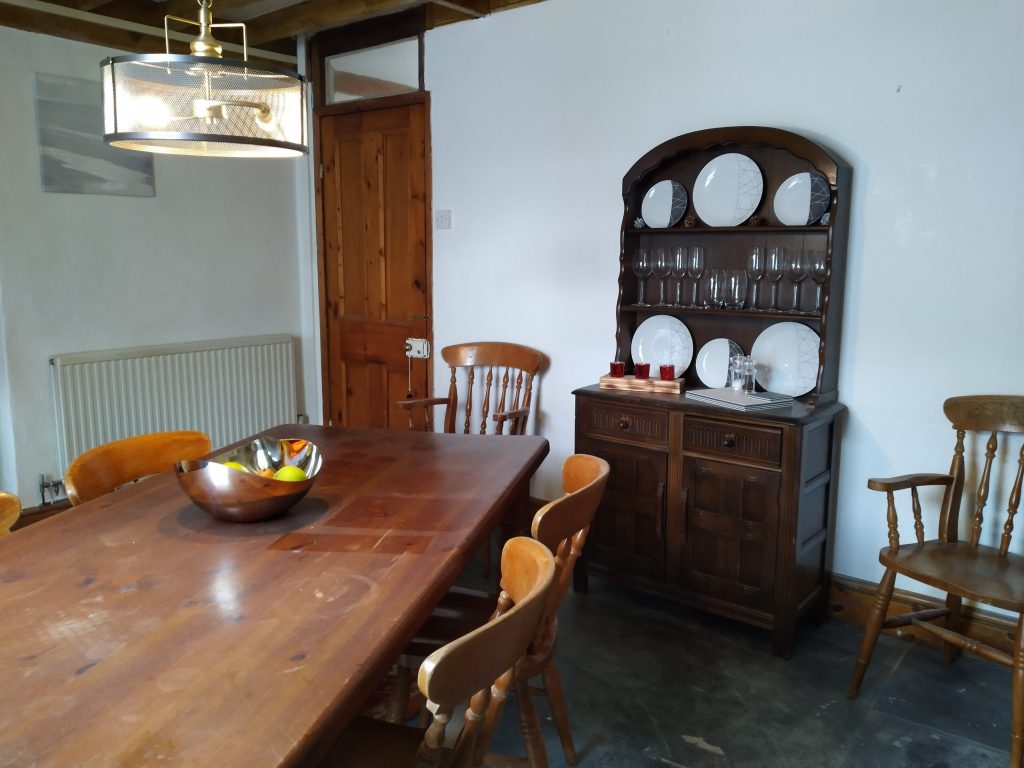
The hole in the floor still needs to be sorted, but for now the false floor is working a treat, especially with the rug over it.

I will keep you all updated once the removal of the inglenook has been completed.