Saturday had a single plan and that was to get the rest of the cement up from the dining room floor and assess the damage. For those of you not following the previous chapter on this, after lifting the dining room carpet, we found the most incredible original welsh slate floor. Unfortunately where the main walkway is, it appears to have worn significantly and to create a level for the carpet, a previous owner had simply built it up with cement straight on top of the slate or so we thought!


Whilst the perimeter edges were OK to remove, the main bulk of the area had two issues. Firstly as I moved closer to the centre, the depth was getting greater and it appeared to be at least an inch and a half, maybe two inches. Secondly I had no knowledge of what was under it. It if was anything like the concaved bit, it would be solid slate and therefore applying to much force or pressure could risk cracking the stone underneath.
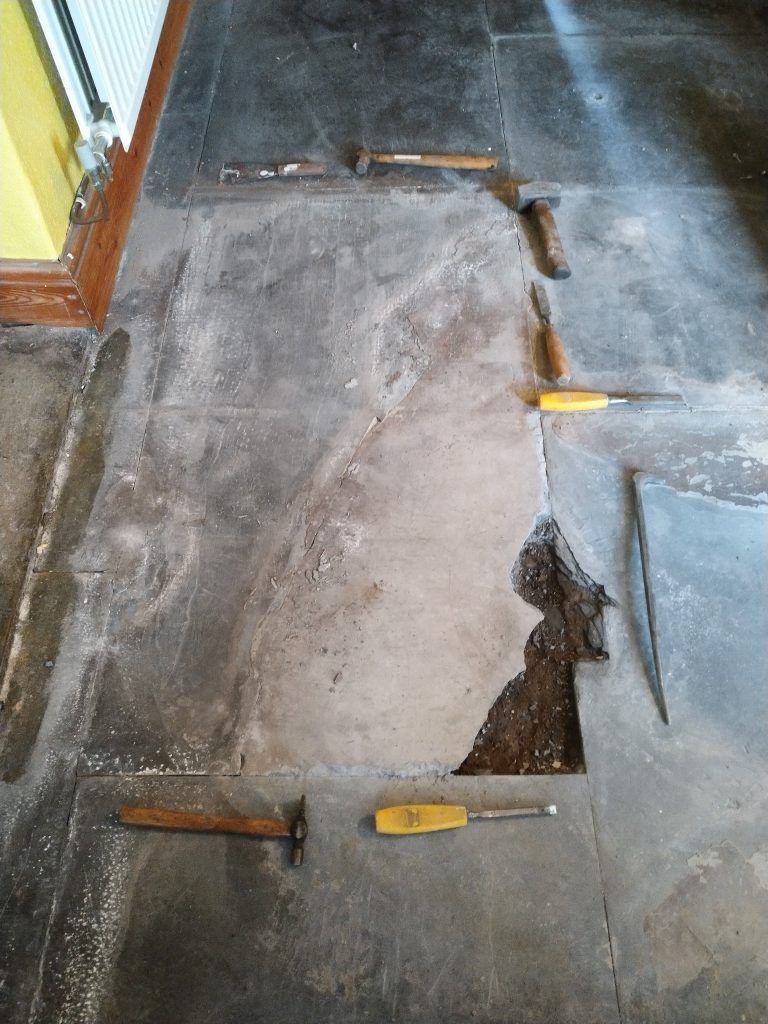
My only option really was to gradually, using a small chisel and mid size hammer, chip away at a number of angles, removing small pieces towards the centre. At one point, putting a chisel under one edge and gradually levering up, saw the final section flex at all of the edges but as I still had slate underneath, any excessive pressure could result in cracking the original layer.
I persevered for about another 30 minutes, then a larger section came away and instead of slate underneath, I could see bare soil! It would appear that this section had been damaged down to the base layer and a section of the slate had been removed.
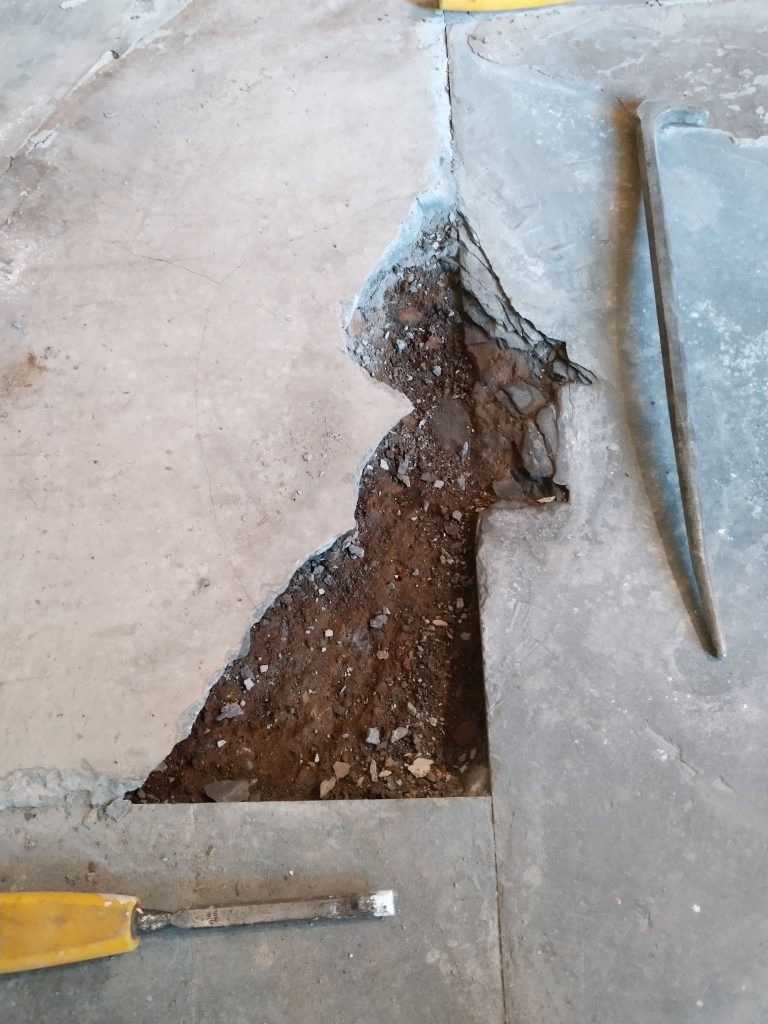
Armed with the knowledge that I now had cement on a soil bed, I could be a little bit more “assertive” and switching to a small handheld lump hammer, using basic percussion strokes (ie whacking it) I was able to break the thick concrete base into smaller fractured sections which were easily removed.
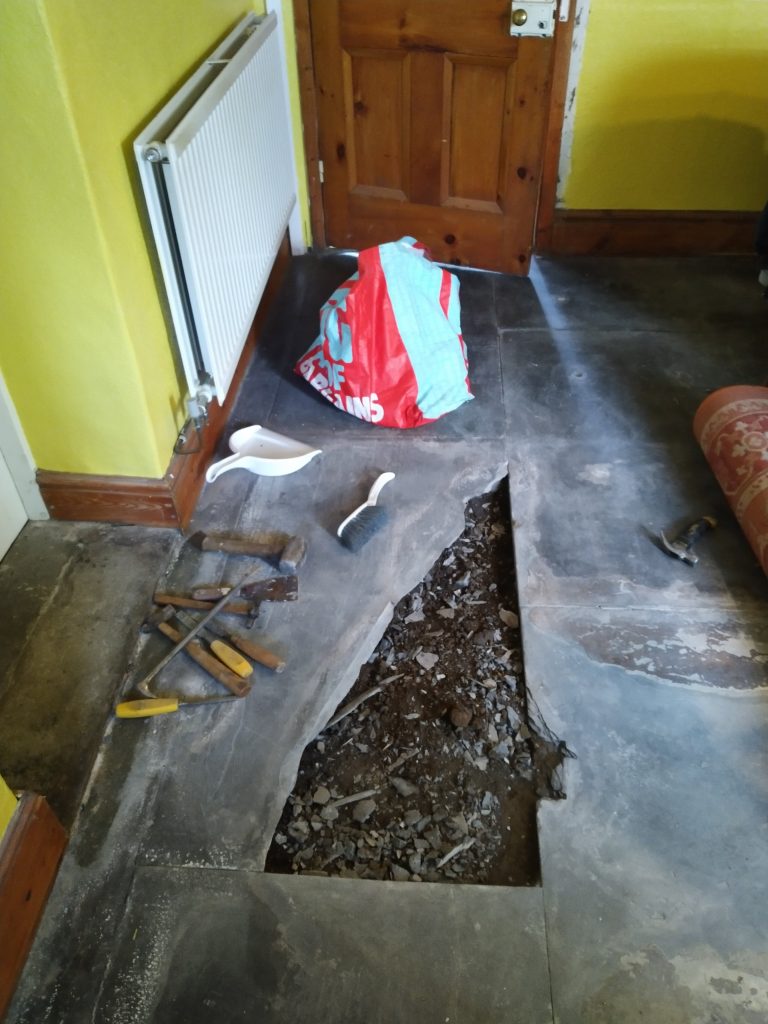
Once the full cement area was removed a good inspection of the soil bed showed it to be dry (certainly when you look at the context of the outside ground and the amount of rain we have had). The next stage is to create a temporary wooden frame and top board to allow the rug to safely cover it, then I can look at my options. At the moment I am considering the following:
- Replace the whole tile with a new one sourced locally
- Clean back the edge in a triangle and replace only the missing area with a custom cut piece of stone (therefore retaining the original piece)
- Remove the whole tile and make a feature of the space that bring my “new family and life” into the room – (I am thinking a mosaic tile design)
- Clean back the edge in a triangle and replace only the missing area with a feature that brings my “new family and life” into the room such as an evolving cement print of my grand childrens hands and feet (I know what I mean but I cant picture it yet….)
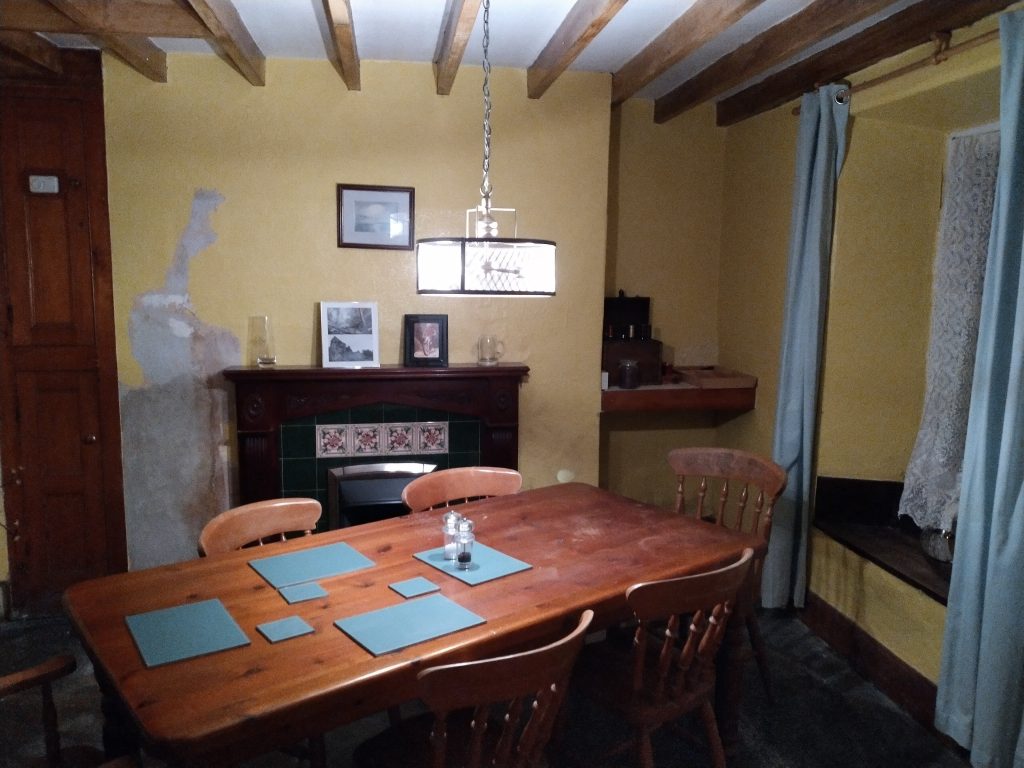
Whatever I do has to fit in with the character of the room. It will mainly be a dining room for family gatherings and you can see from the shot below with the dining room table and light, the style I am aiming for. Once you open up the fireplace behind you can probably get a idea for the direction it is going in.
Rob, I had a similar situation only with wooden block floor direct onto soil but the tar damp proofing layer had failed (Victorian farmhouse in north Shropshire). The only proper solution was to take up the whole floor, dig down 6 or 8 inches – weapons grade DP membrane then 6″ of insulation and underfloor heating with the original blocks laid back as the floor surface then sanded smooth and varnished. Loads more work, but a proper job with no chance of damp coming back. If you are planning on staying there then it needs to be considered. Best of luck John
Hi John, many thanks for your comments.
This is certainly a learning journey for me but small finds like this certainly help you understand the build of the older houses. The main project in my head is 3 years and sort of split between year 1 as getting it tidy and livable and identifying bigger bits of work then years 2 and 3 to be probably more capital intensive investments in longer term living.