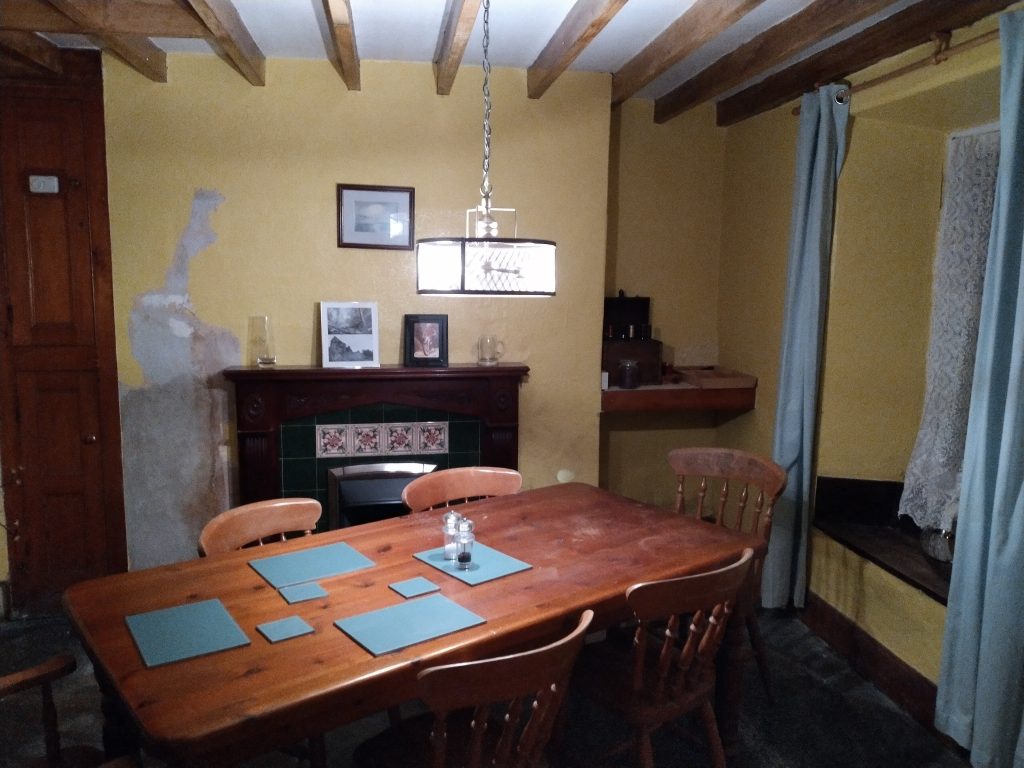
The last article on the dining room was titled “Hoping for a hidden gem” as my initial suspicions was that the original fireplace was present in the dining room. I was hoping for something similar to what we have in the snug (ie a very large open inglenook) and the high ridge started to indicate this. Also in the corner of the room was an area which had very strong signs of damp which needed attention so I knew that the dining room was always going to be a significant piece of work, it was just a case of establishing where on the scale of “significant” it was.
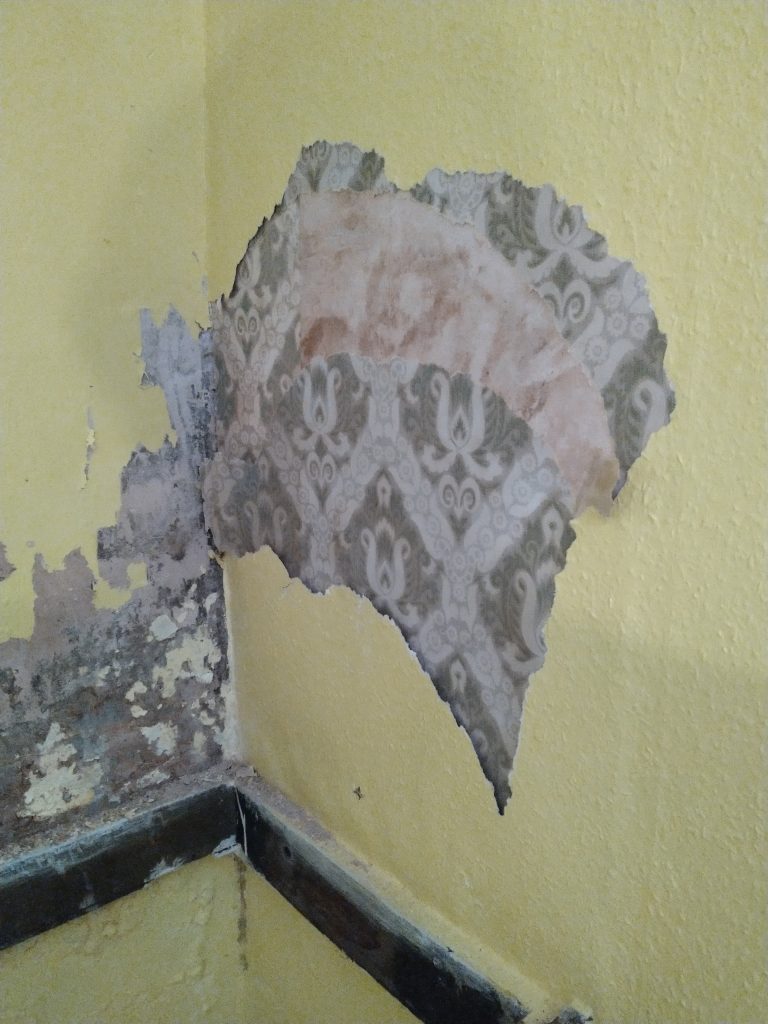
So a couple of weeks ago when I was bored one evening, I thought I would just take a “strip” of wallpaper off near the ridge and see what I could find. If you have a look at the picture below (which my daughter says looks like an Ibiza DJ holding headphones to their ear in one hand and doing an air fist pump with the other) the thin bit at the top is the ridge line.
The outcome was actually very disappointing as once the paper was removed, what appeared to be underneath was concrete in texture and not slate. Oh well, it was never expected so no loss but at least I know this was the lintel line so started to give me an idea of the size of the potential opening so the inglenook was still a possibility.
Anyway, wind the clock forward to today and my plan was to strip all of this wall back to the plaster so that once the fire was decommissioned I could remove the fire place and fire and start to see what I was working with. To be clear, the plan was “strip the wallpaper on this wall only….
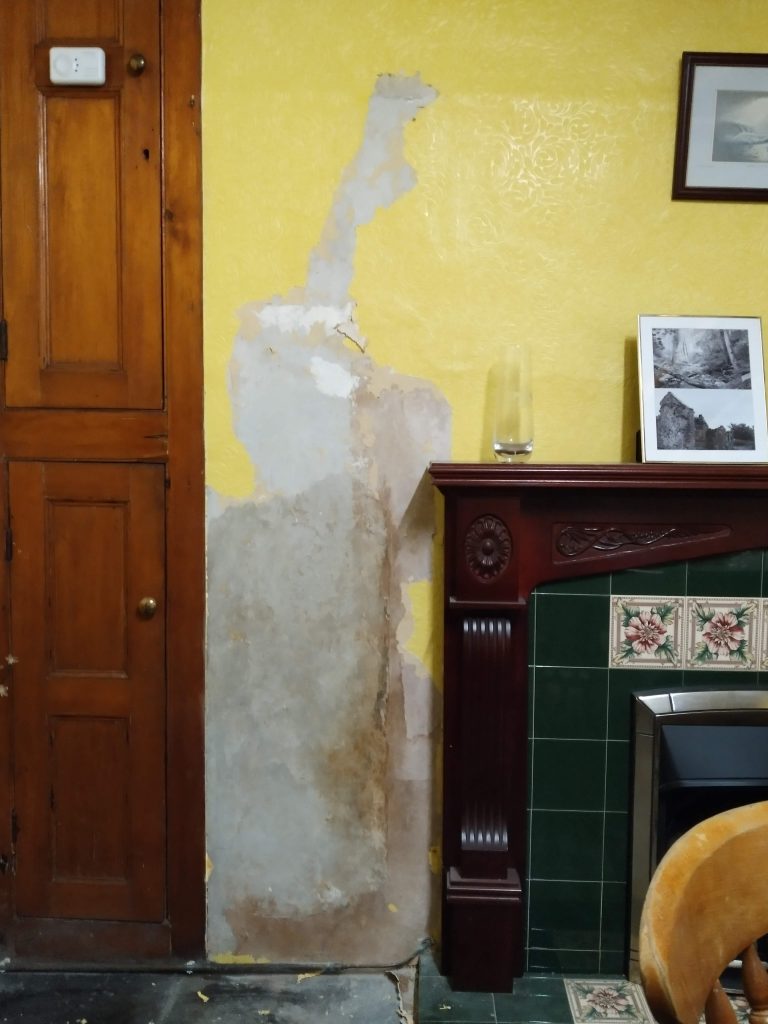
So I started low down on both sides, especially on the right had side as there was clear signs of damp here. Paper was peeling and surface paint was bubbling. You can see from the picture below, to the right of the fireplace is a shelf as the wall recesses back and all the area below the shelf on all 3 faces needed attention, but today I was just going to strip the wallpaper on the wall around the fire place….
The problem was, as the paper on the right hand side of the chimney breast started peeling, it naturally went around the corner, and as it went around the corner it was clear that the plaster had absorbed a lot of moisture and was compromised and once you started taking it of, well you just had to find out the extent of the problem.
As you can see from the picture above, the layers of plaster once peeled back exposed the original stone work. I am not sure how much effort it will be to restore this back, but fortunately time is something that I have plenty of.
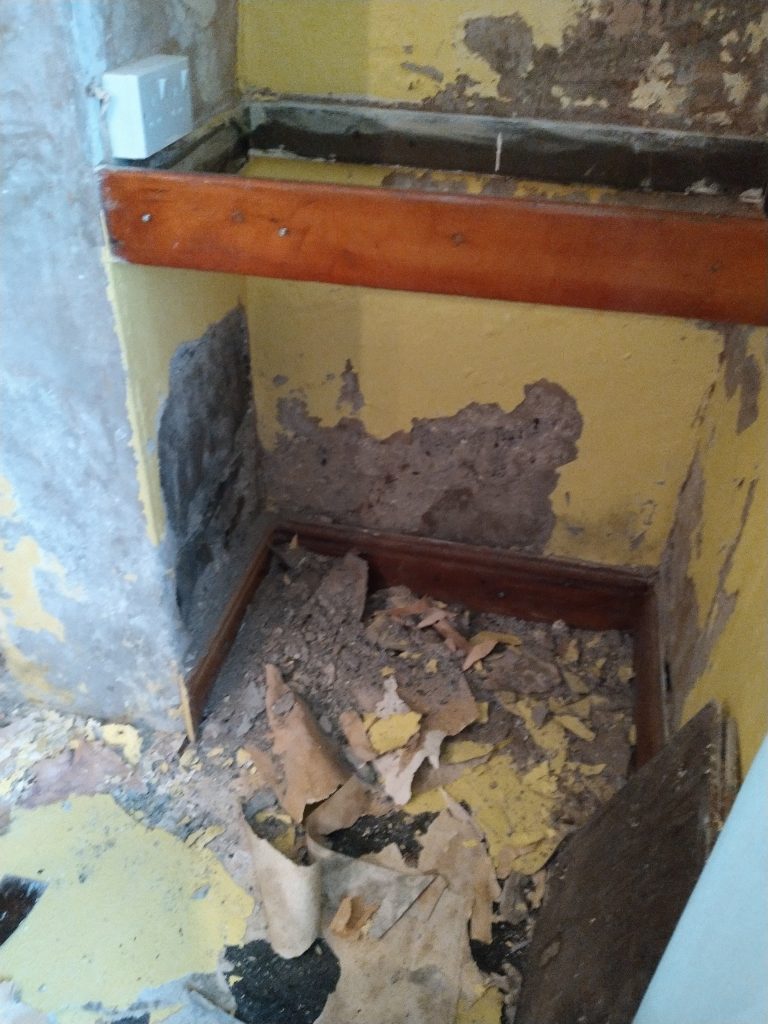
I suspect that the shelf contributed in some form to trapping moisture in the air and not allowing it to free-flow out, probably contributing to the concentration. My current plan is to move the socket up to the ceiling beams for now and get rid of the shelf. This whole area can then be stripped back and probably will be a great place to have a Christmas Tree.
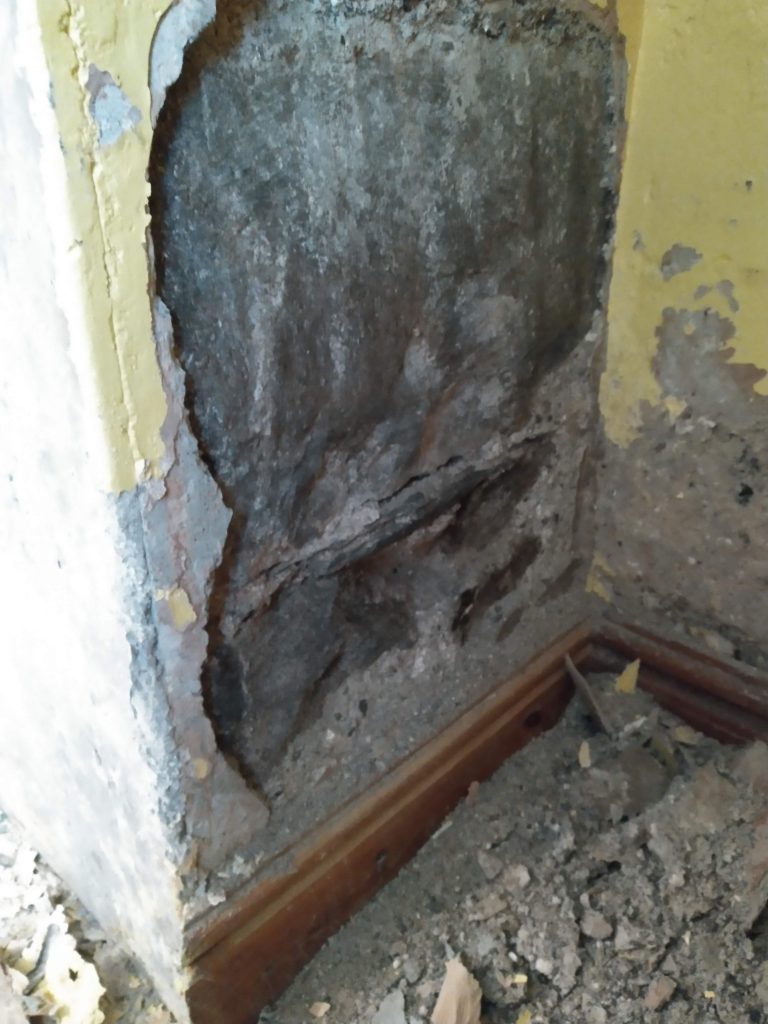
So back to the main wall. Obviously, as the plaster was coming off in chunks at the side, it started to creep around the front and I suddenly got sight of something black. Was this slate? As I gently allowed the plaster to come off, the black area got taller and opening it wider it became apparent that it actually was a lintel. The next thing to find out was whether it was purely ornamental or if it was the lintel that created the framework of the inglenook.
Now remember my plan was to just strip the wallpaper but what I actually ended up with was the picture below.

The horizontal aspect appears to be the depth of the lintel and clearing off the mortar on the right hand side later on shows a clear connection into the upright stone pillar running vertically on the right hand side that is starting to be exposed.
The original lip that I exposed on the left hand side, thought to be a concrete lintel is actually a contoured plaster which levered off really easy to show the upper edged of the lintel supporting the upper stone work.
The next step before I go any further is to get the gas fire decommisioned so I can safely remove the current fire surround and see how much block removal is needed and the potential size of the cavity.
If you look very closely at the picture above, on the left hand side, vertically in line with the the left hand edge of the wooden fire place, you will see a small hole about 12 inches up from the mantle. This exposed the original water pipes which terminate in the cupboard to the left hand side. The old airing cupboard is above this so their is the possibility that a range type boiler existed and wouldn’t it be wonderful if it had been bricked in there and not removed?
I will let you know more once the fire is removed.