When you embark on buying an old house, you have to take on a level of risk hence the reason for getting a full survey done. But as we know they are filled with disclaimers and caveats and say things like “we don’t lift floor boards and we don’t do this and that” so I have treated them as an indicator to inform you.
My two markers to watch out for and budget were damp (as this was not just cited on the report but also visible in places) but also the roof. Now the report actually gave this a generally good coverage, inspecting the visible trusses and felt condition, pointed out a number of damaged slates and a few other things but my worry was always, what if I need a new roof? as I believe they can be quite expensive. The worse I had experienced before was losing tiles and ridges on a previous property which was prone to being windswept but nothing really major.
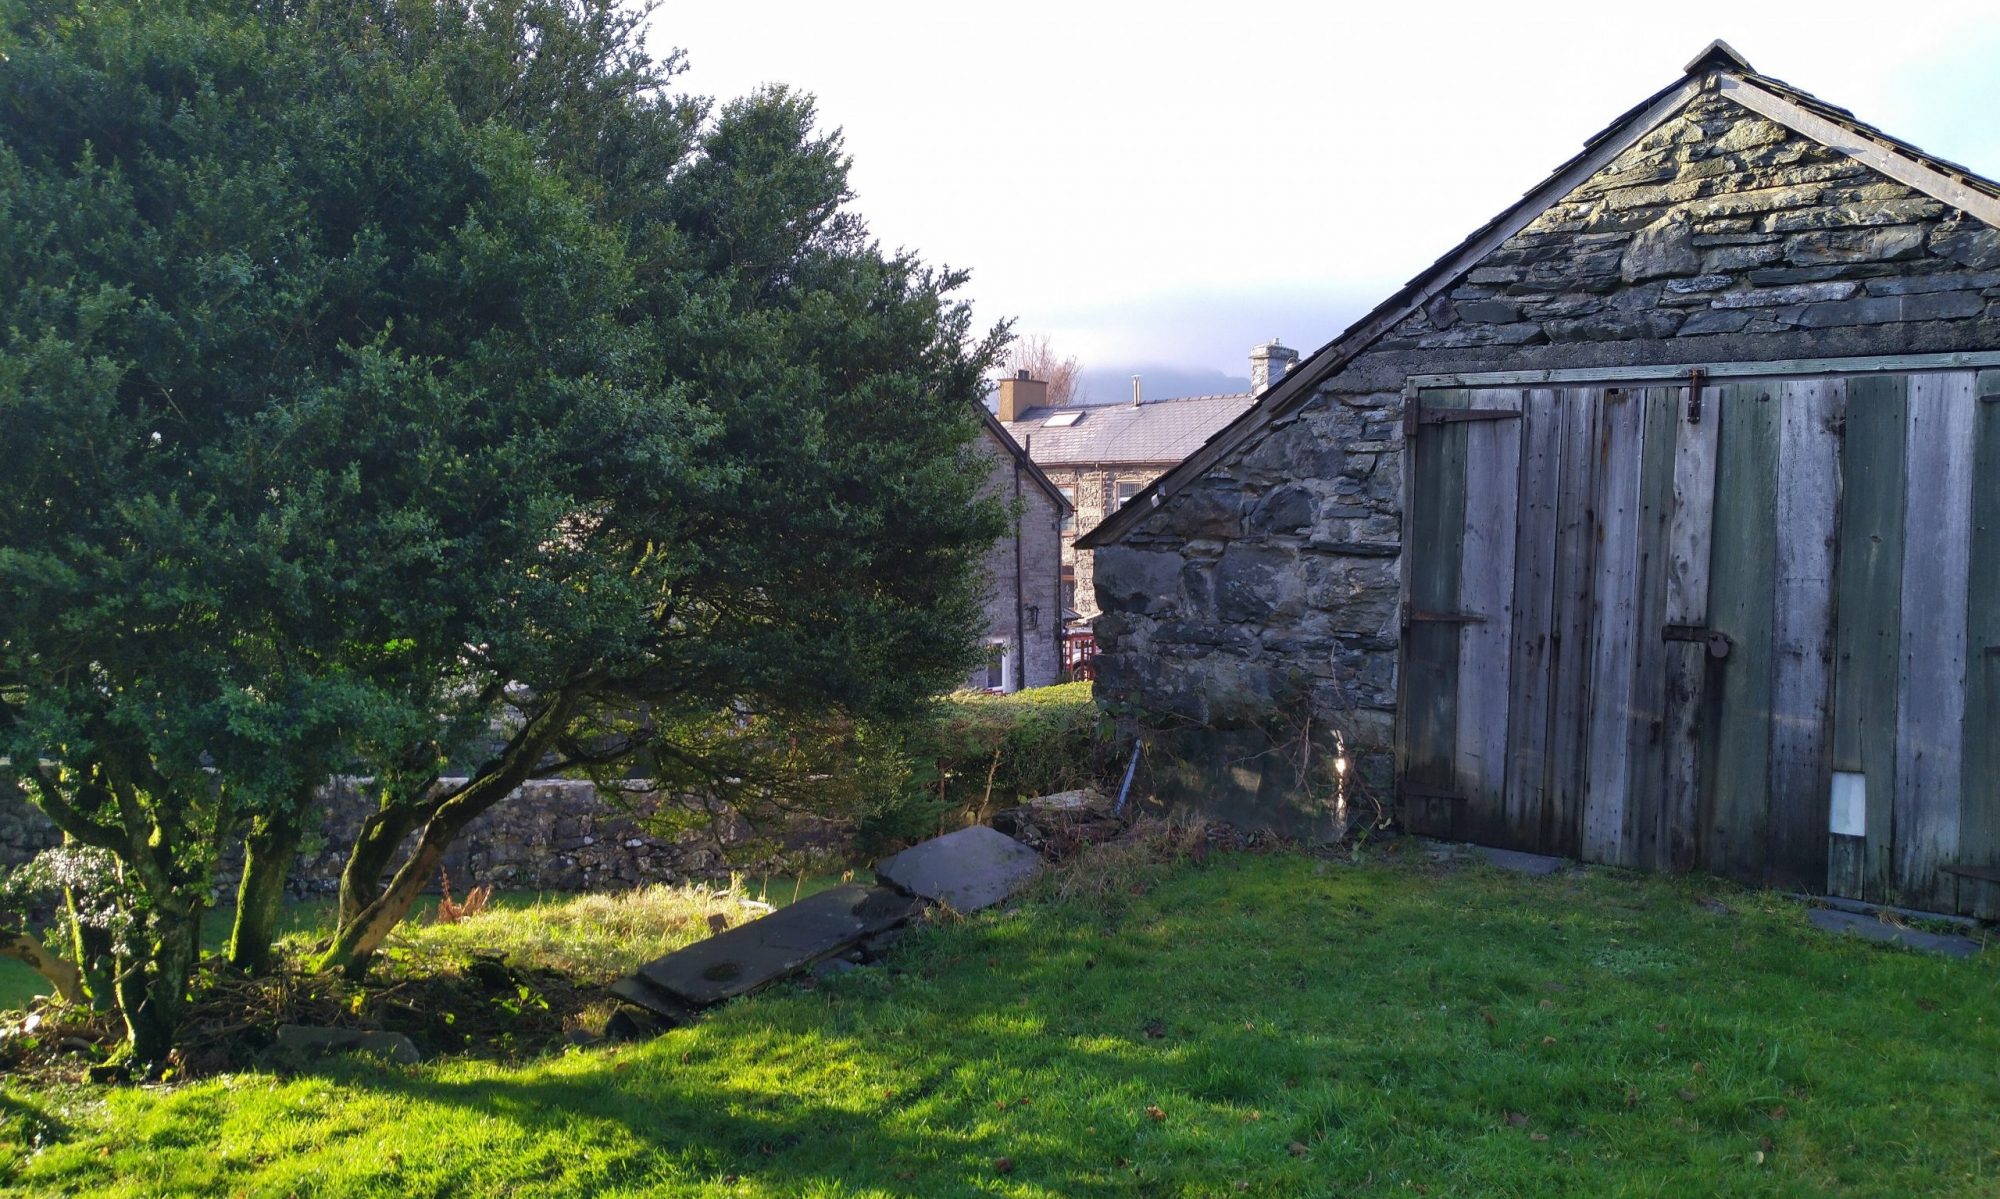
So when it came to buying Glan Gors I always knew year 1 and moving in during the winter was going to quickly flush out any issues with the roof!
Once I had given the house a good airing and walking around inspecting in detail, a worry bead popped up at the top of the stairs and in my bedroom as signs started to appear. Blown plaster and a staining were apparent and stripping the plaster back exposed an internal long term ingress where the stone work was blackened and had moisture and adjacent to it on the ceiling was a slowly expanding discoloured ring.
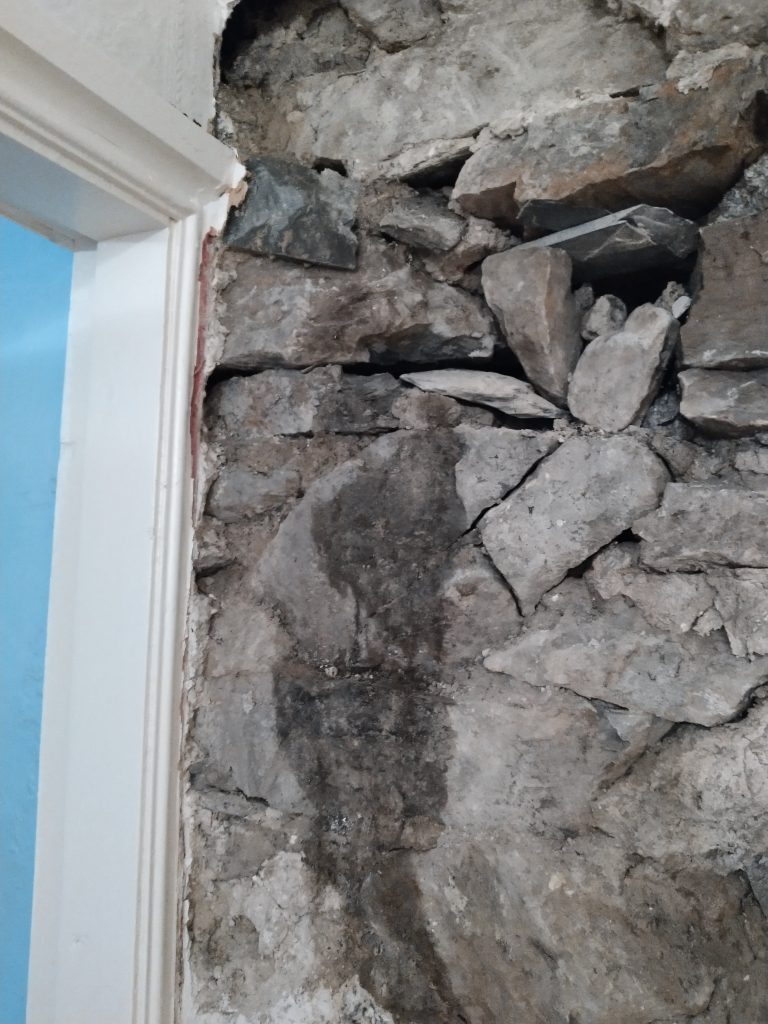
I also had some staining in the bedroom and as it was the other side of the doorway it seemed logical to cut a small section out to see if this cast any additional light on the problem. Using a small push saw I cut out a section about the size of a standard envelope and immediately could see water ingress on the bottom of the frame which holds the roof valley. This sort of correlated with the angle of moisture when viewed from the roof line and location wise the water seemed to align with a piece of flashing which I can only assume joins part of the valley together in the lower 1/3. Popping up into the attic and locating the valley, the higher parts were dry so the lower flashing join seems to be the probable culprit.

Armed with all of this information and being relatively confident that this had been a long term issue and therefore any damage was probably already establish I was able to contact a roofer and not get too stressed as I knew I was going to have to wait until he had a free slot.
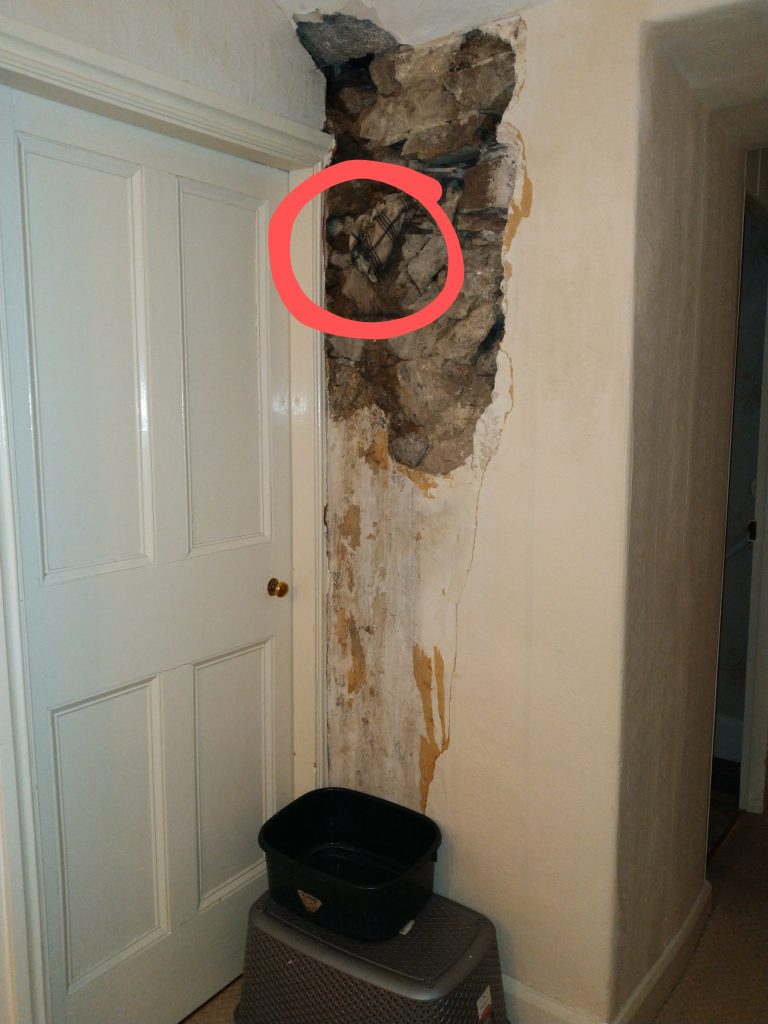
The only problem now was that whilst before I knew I had a problem but could not see the extent of it, now it was opened up, when it rained I could physically see the water dripping down the wall, and I mean dripping! My only option was to find a way to capture it and this is where I am learning to improvise. If you have a look at the picture below, the item circled is a tea towel tucked into a space between the mortar. This now collects the water and is folded in such a way that it forms a point at the end to direct the drips into a bucket on the floor. On an average night of rain I’m collecting about 1.5 litres, and to think previously that has all been soaking into the stonework and plaster!
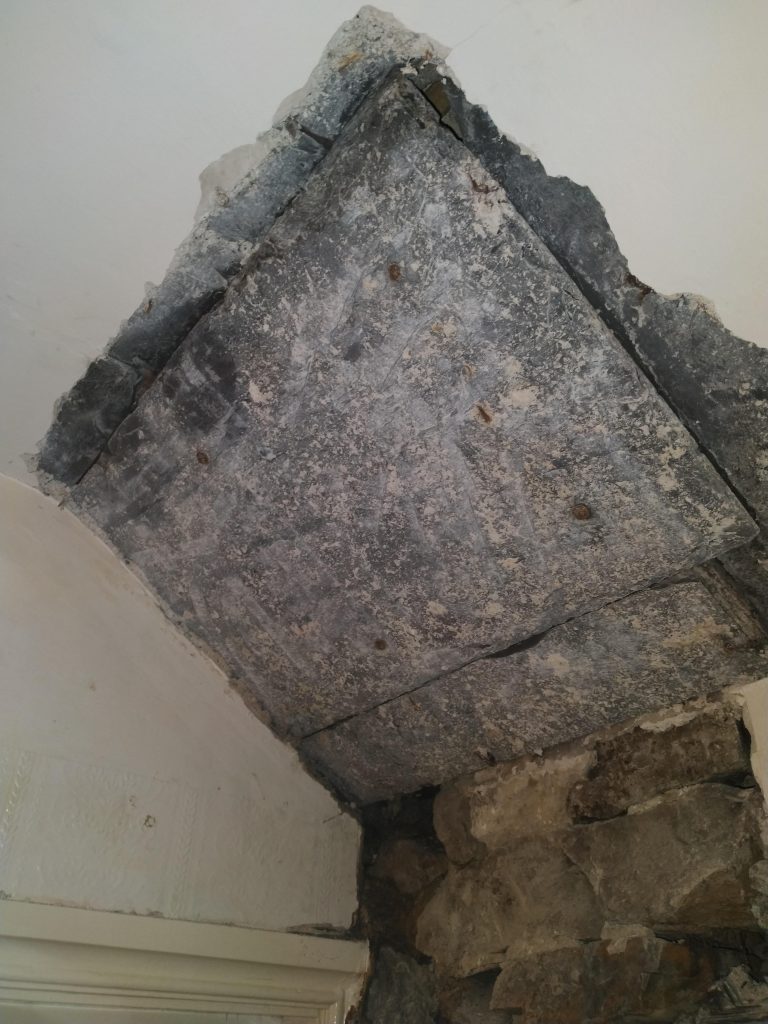
The final bit of the preparation was to clear back the whole wall to really let it dry back so I have cut the plaster back to the skirting and then have gone to the right until I found solid dry plaster. At the same time, there was staining just above it on the ceiling so I took the opportunity to cut this back as well.
I was really expecting to see plaster board which I would cut out, giving the roofer another view of the underside so imaging my surprise when I discovered that the ceiling contours are actually made up of slate sheets nailed to the rafters!
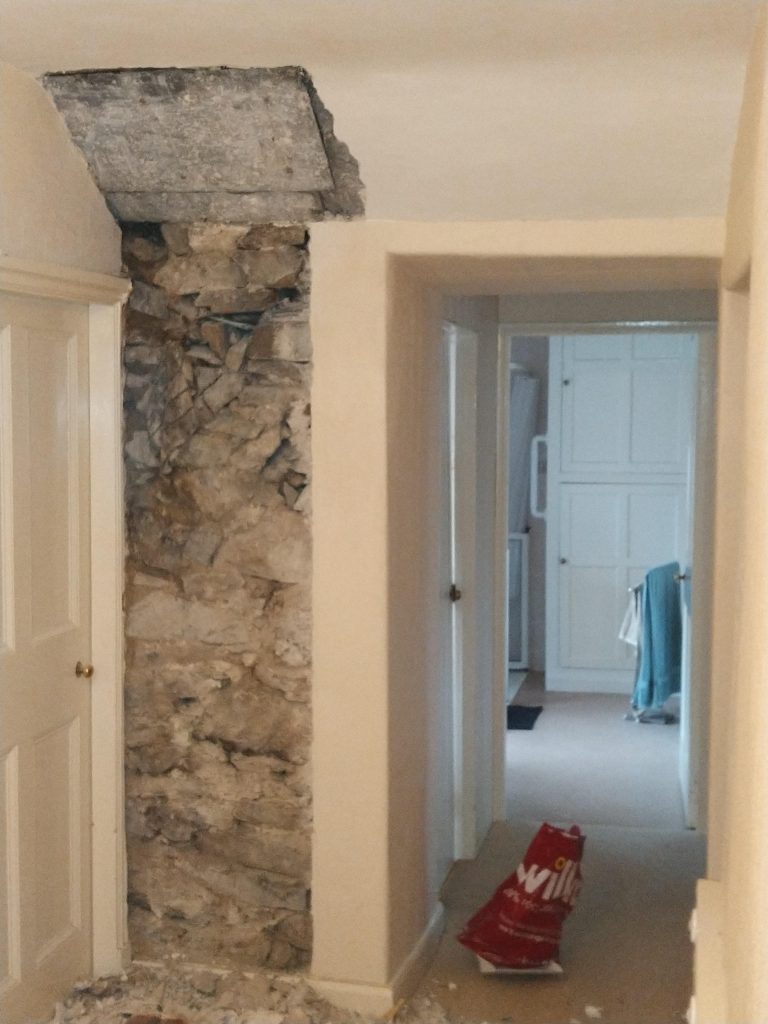
My problem now is that I can really envisage this restored back to the stone work, repointed and having it as a feature archway at the top of the stairs!
I will keep you all updated once the roofer has been out!