The last kitchen I fitted from scratch was probably over 15 years ago, but apart from getting in a plumber is to do the wets and someone to connect the gas for the oven and hob, I managed to do the rest including the new floor so when I realised that Glan Gors was going to need one, to be honest it was one part of the restoration I was actually really forward to getting my hand dirty on.
This weekend was the start of the main strip out. I have next weekend clear to tackle the flooring so I really needed to crack on and strip the kitchen out and self level the floor to allow it to dry and cure.
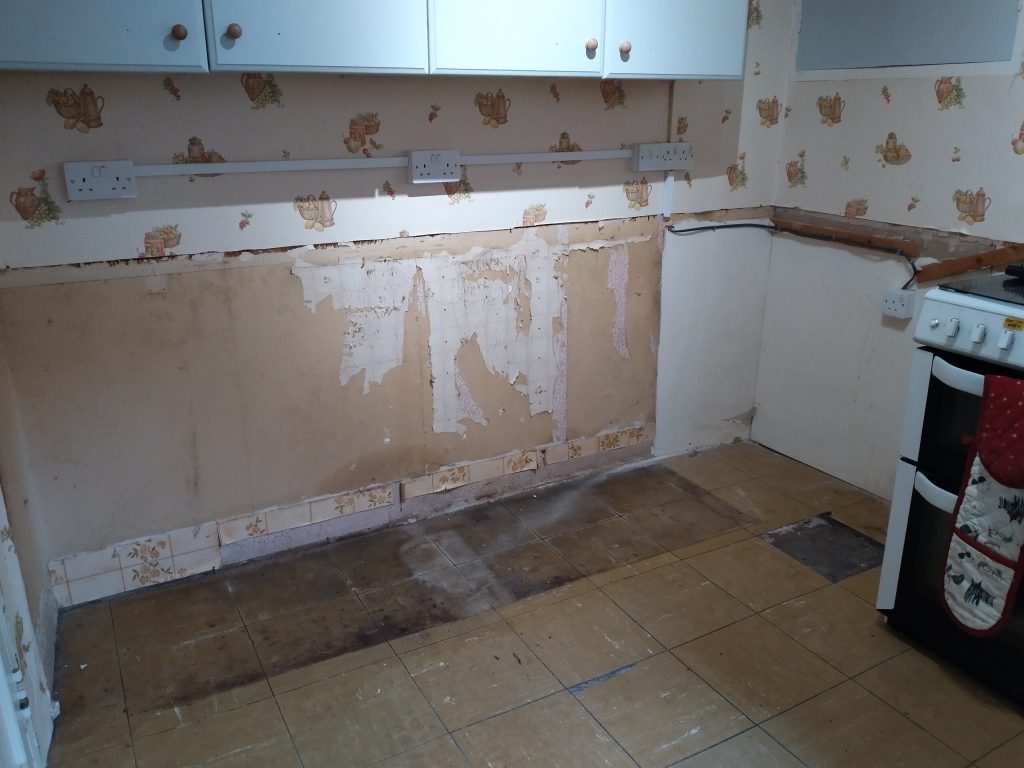
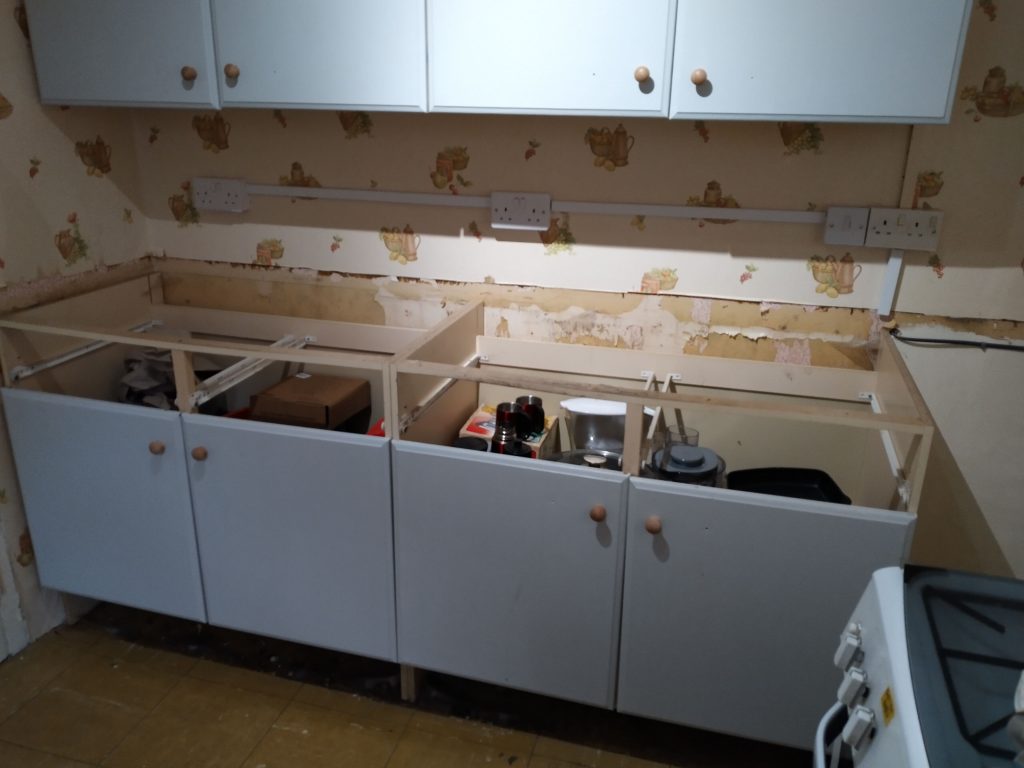
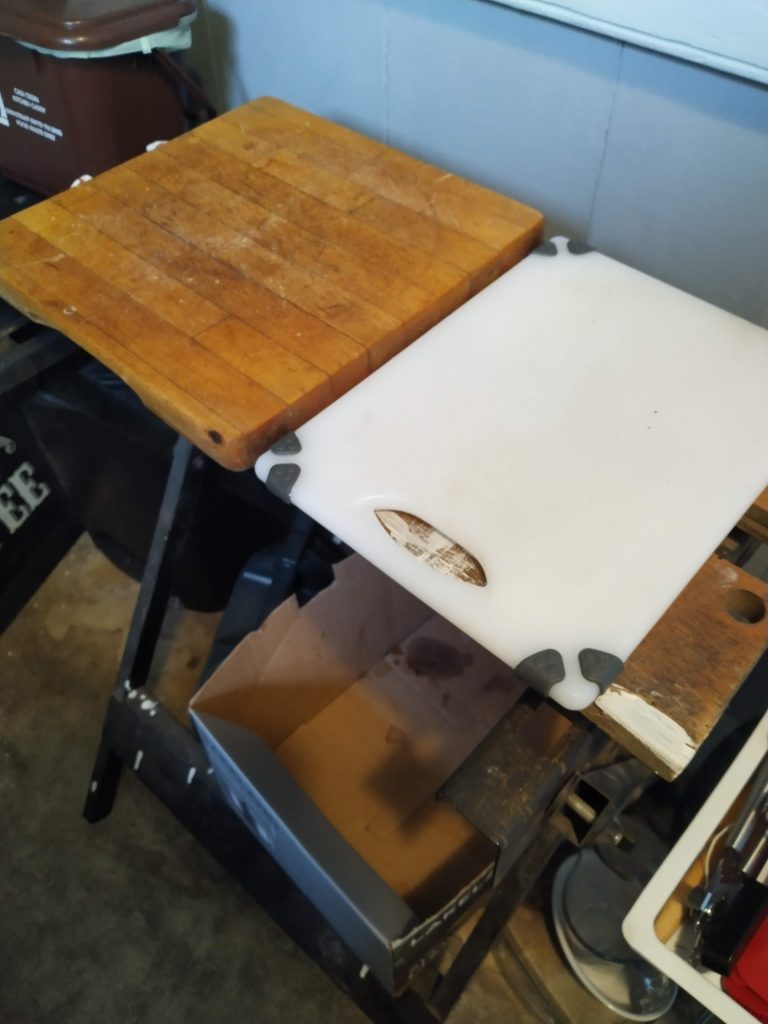
The first step was to empty all of the units, strip out the work top and then to store them in another part of the house. I had already repainted the doors, so when they go back in they just need a really good deep clean but moving the carcasses out allowed me to check that they were still solid and they definitely have quite a few years left in them.
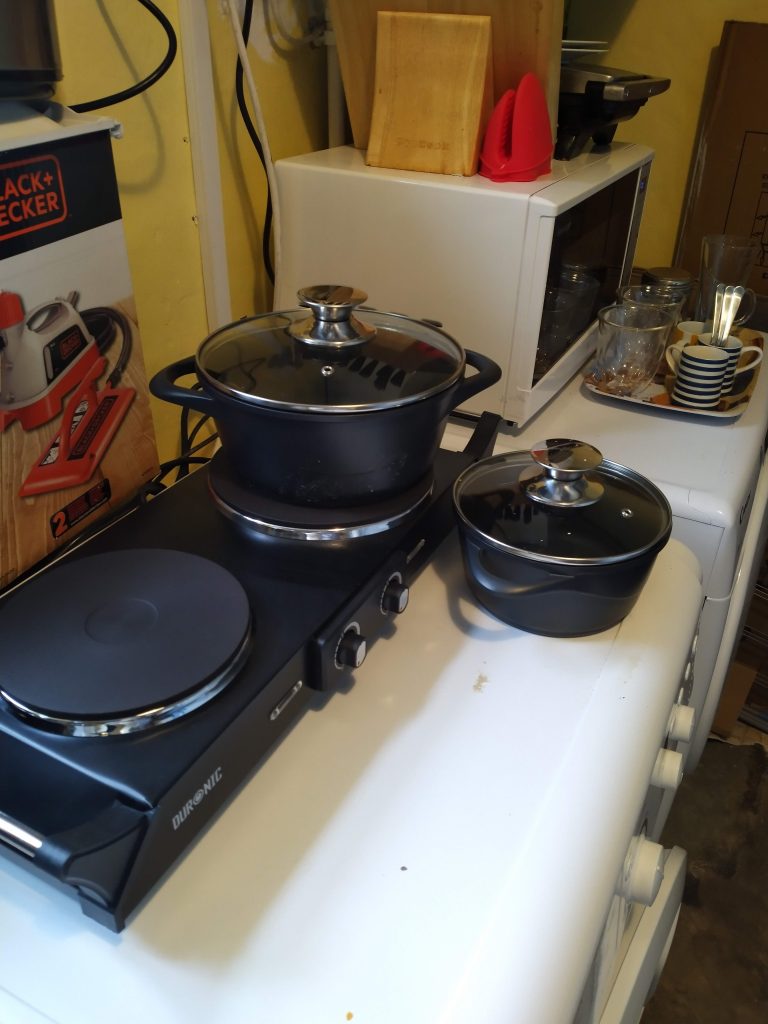
Of course, its OK stripping out the kitchen but you need to have somewhere to cook, so the next step was to set up the temporary kitchen in the utility room. I had spent the last 12 month living in a lovely farm cottage with a small kitchen made up of an oven and a little portable electric 2 ring hob, so I had mastered the art of cooking meals that only need two rings. Fingers crossed this will only be for a couple of weeks, but I have planned my meals to work around this so once again, a good incentive to crack on.
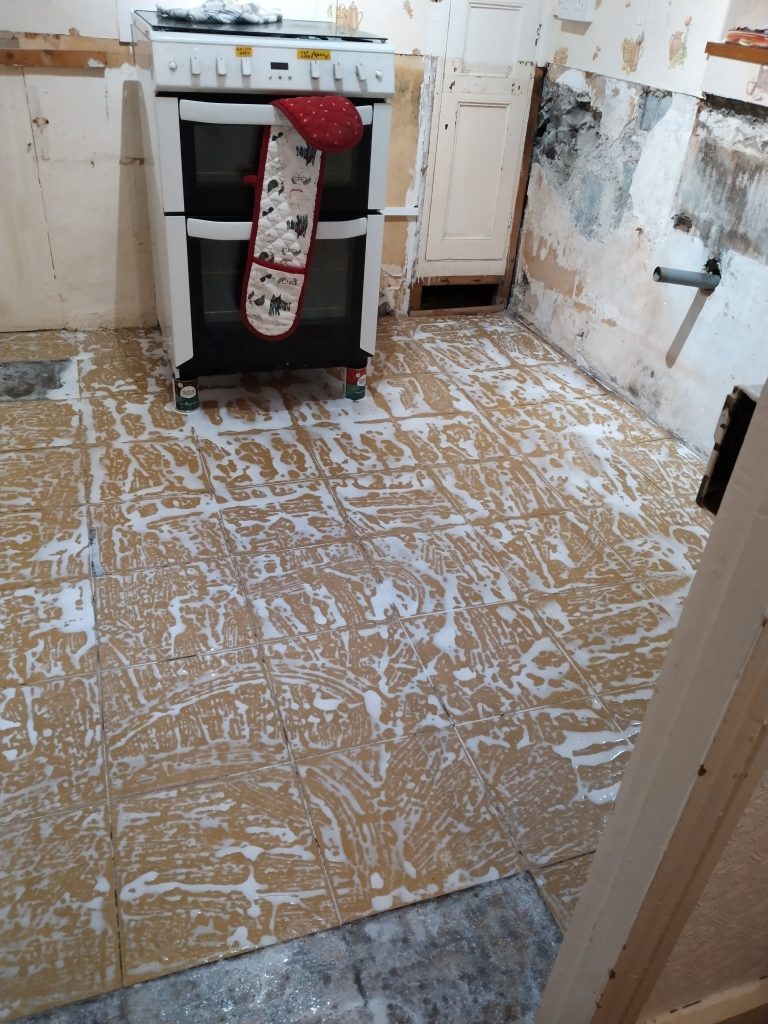
The existing floor tiles have a strong indication that they may contain asbestos. I have researched this and whilst you can get tests done, removal even by specialist companies can leave a residue as the asbestos also exists in the glue. Having asked around the common advise was to “encapsulate it”. This basically involves covering it with a self levelling screed, ensuring it is all covered then lay the new floor on top of the screed. As I will not be drilling into the floor this seemed the logical thing to do. The only thing you need to be aware of is that if you plan to sell the house you need to declare this. Not a problem, I’m not looking to sale….
So the next step was to give the floor a really good clean. Mop, floor cleaning solution and plenty of hot water made sure that the years build up of grime under the work surfaces was shifted then all that was needed next was to a mix a 50/50 PVA and water solution and give the existing flooring a coating. I continue to read conflicting information about this step, some people saying it is not needed, others saying it allows the self leveller to bond better. I thought I would go with the applying it route and created the mix and then applied it.
I forgot to mention, the kitchen has a gas cooker and whilst this is being replaced once the kitchen is fitted out it was still connected so the self leveler needs to go down with this in place. My only option was to stand it up on four tins and allow the leveler to run underneath then once its cured, move the cooker off and back fill the small holes.
So wind the clock forward 12 hours, and I wake up to most of the PVA dried with just a couple of patches left where either it was a low point and liquid had gathered or I had been over generous with the brush. I quickly smoothed these out and left them to dry so that in the afternoon I could set about self levelling and this is where the messy fun started.
The kitchen is approx 2.7m square so that calculates out as 7.29 sq m. I had 2 bags of self leveling compound which cover 5 sq m each at a depth of 3mm, a large 45 litre mixing bucket, a drill powered mixing paddle and a large float. The bags said they only needed 4 litres of water per 20 kg bag which seemed hardly any but once it was mixed up you could see the volume bulk up. I thought it best to mix it up in the kitchen and really I should have covered the cooker! but as it will be going at some point I didn’t stress about the splatter, I can give it a quick clean once the floor has hardened.
My dilemma was as I knew I needed both bags, did I mix both together, or get the first bag down to cover the first half of the floor then quickly mix the second bag and blend it in. I went with the latter and worked quickly, trying to get use to the large float sticking flat due to the surface tension and also having to manoeuvre over partly laid self leveler as the second bucket went down and spots on the first part of the floor needed a top up!
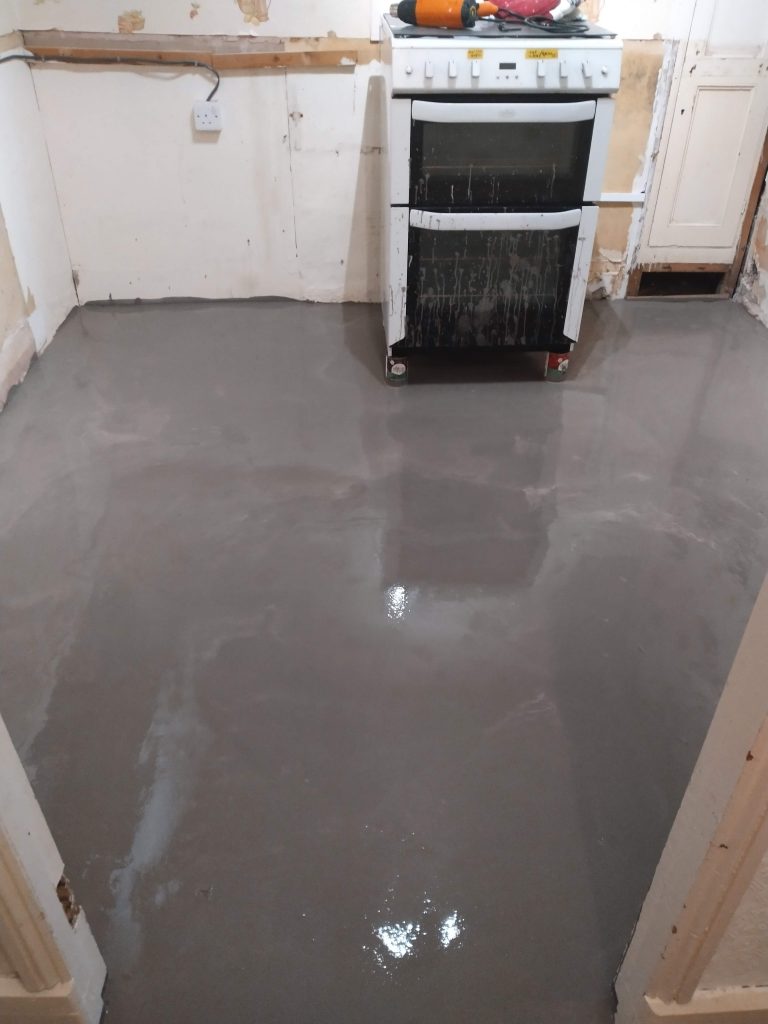
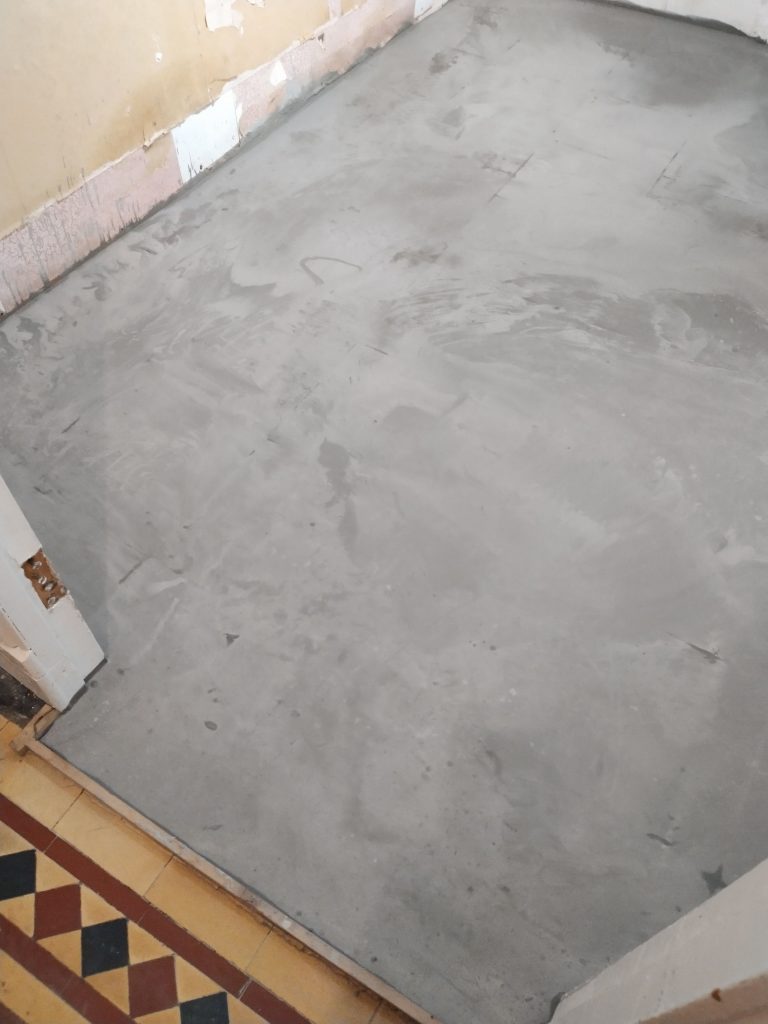
I went back to check a few hours later and I am pleased to say it was good to its word on the bag which said you could walk on it within 3 hours as you can see the change of colour below. All in all, a satisfactory result!
[Footnote: when laying the tiles, I did have a slight dip in the middle, so for all of those home DiY people attempting this for the first time I would suggest running a thin batten at each edge of the room and the middle and level them using a spirit level, then fill and shutter in 2 sections. Once dry, remove the middle channel and fill in]